Find the best tips and tricks for how to stain a new deck yourself. From prepping your deck to the best products to use, this is the easiest way to stain a deck yourself!
Our New Deck
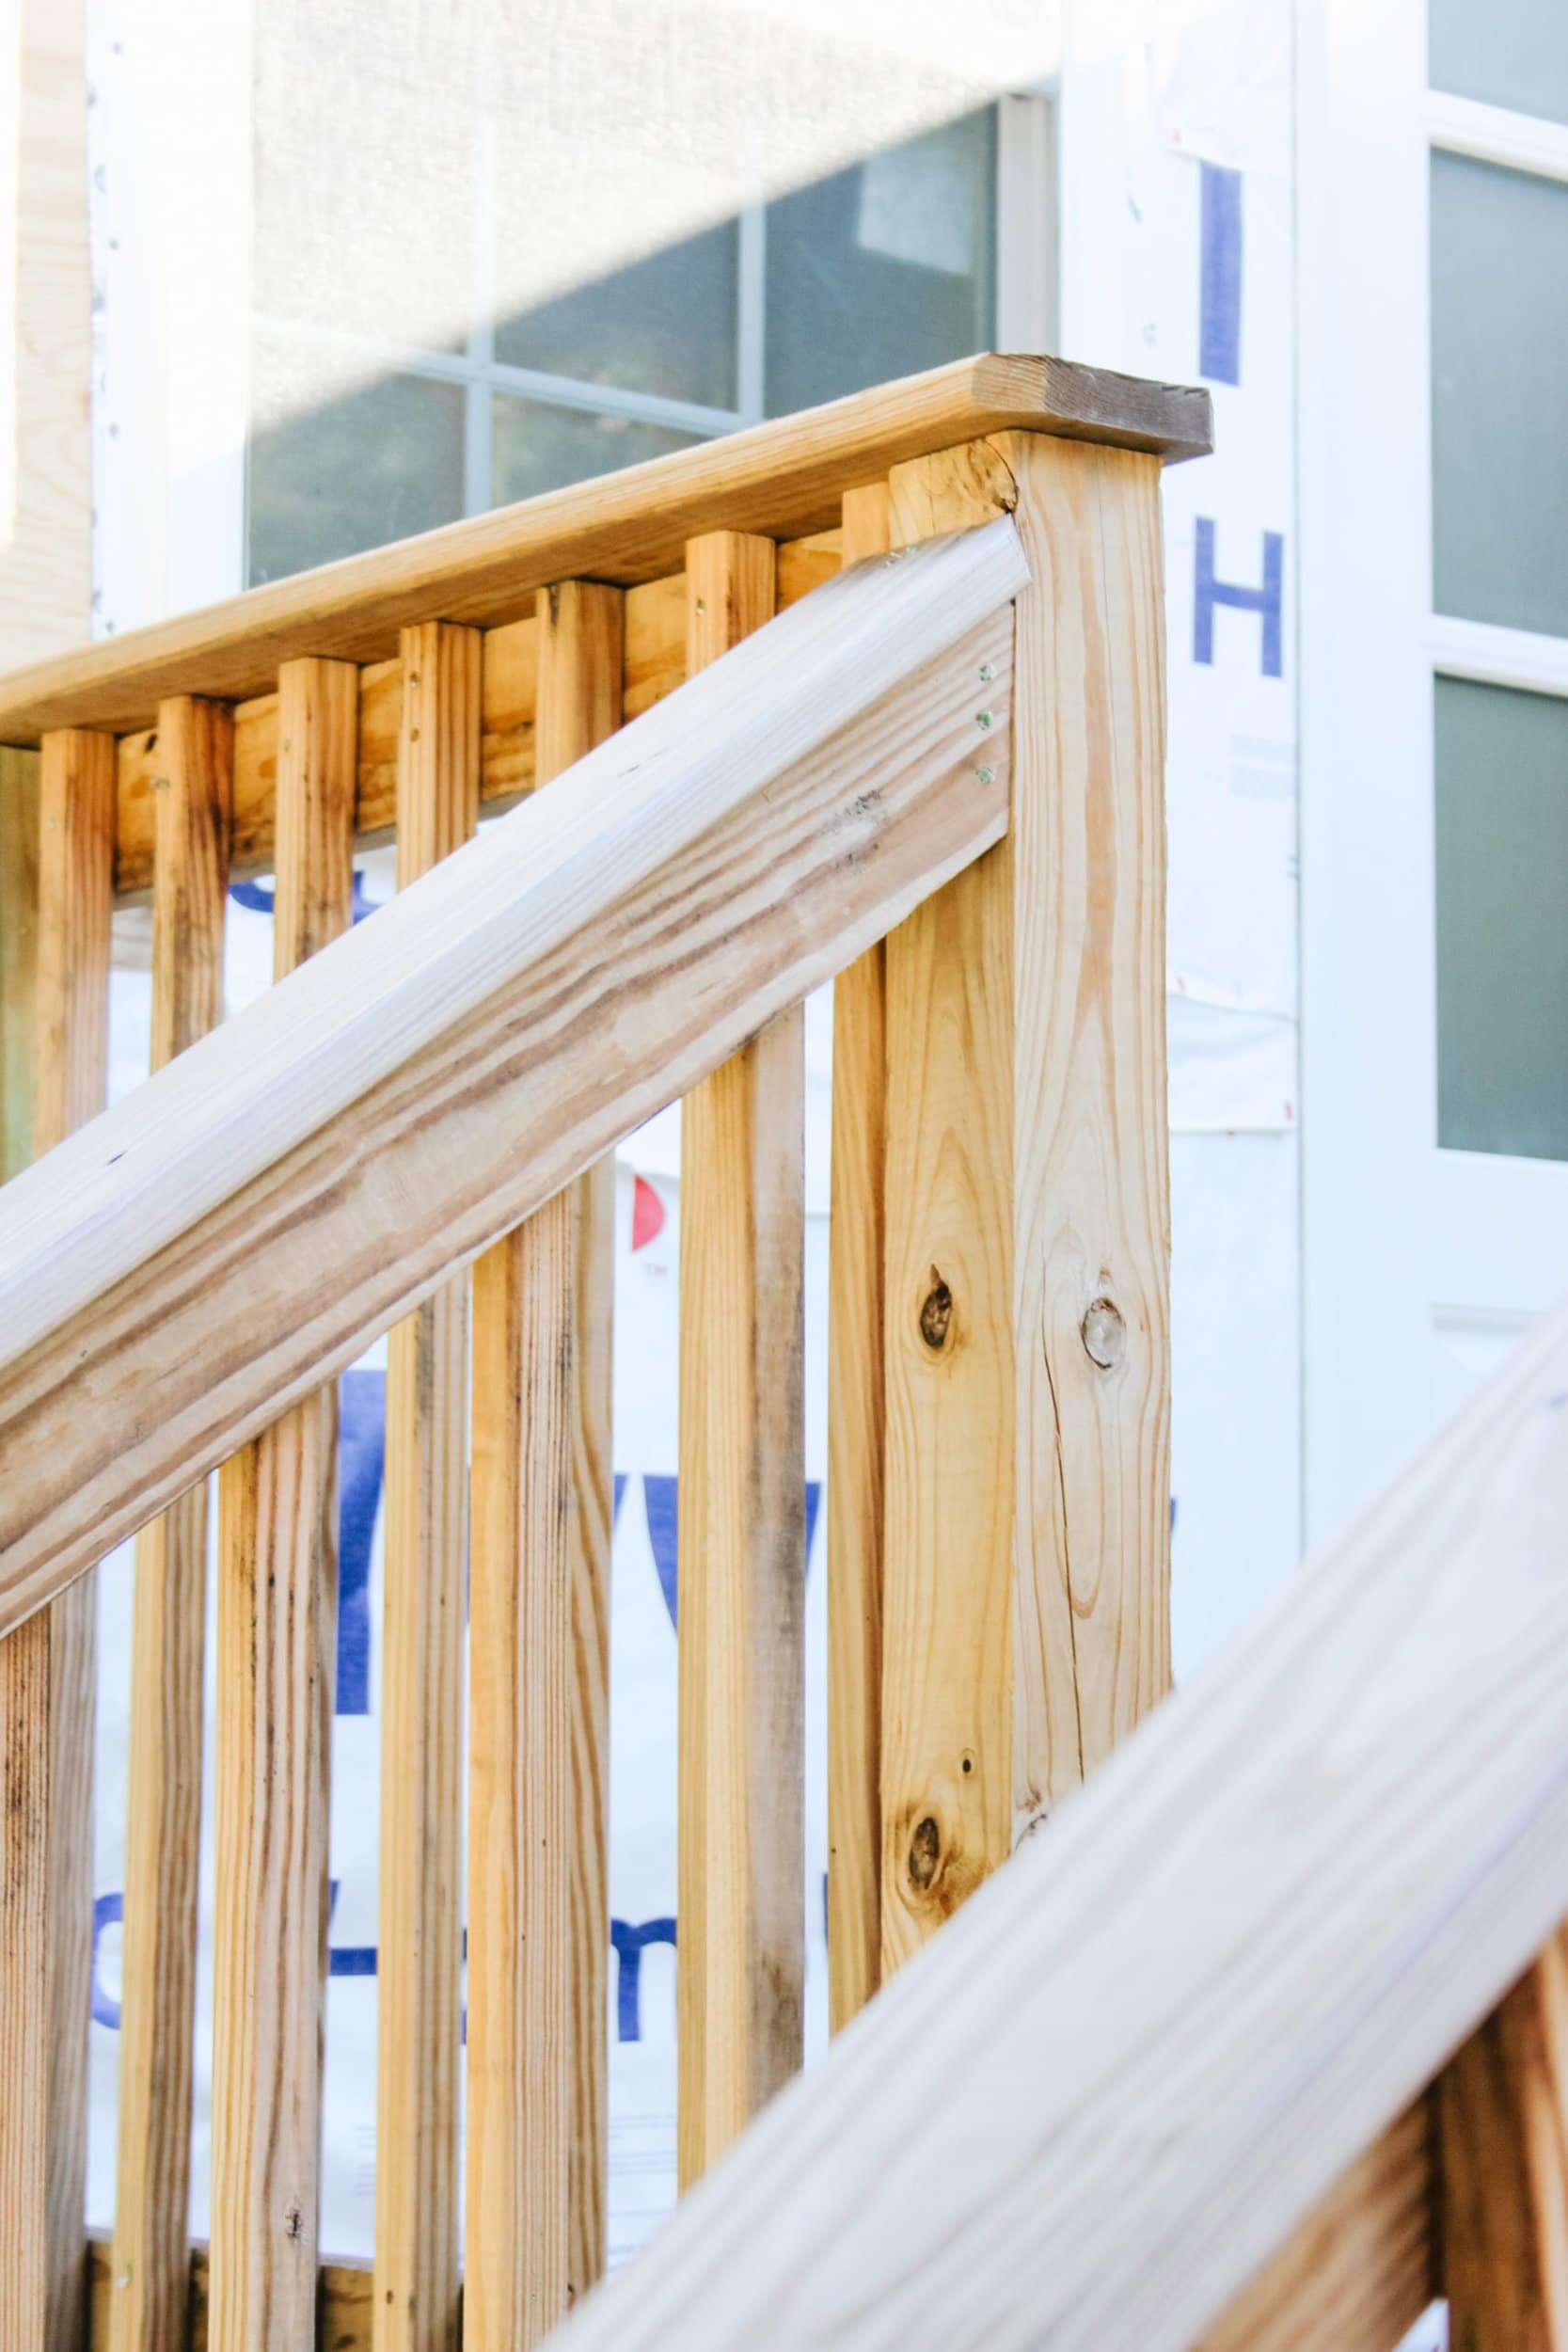
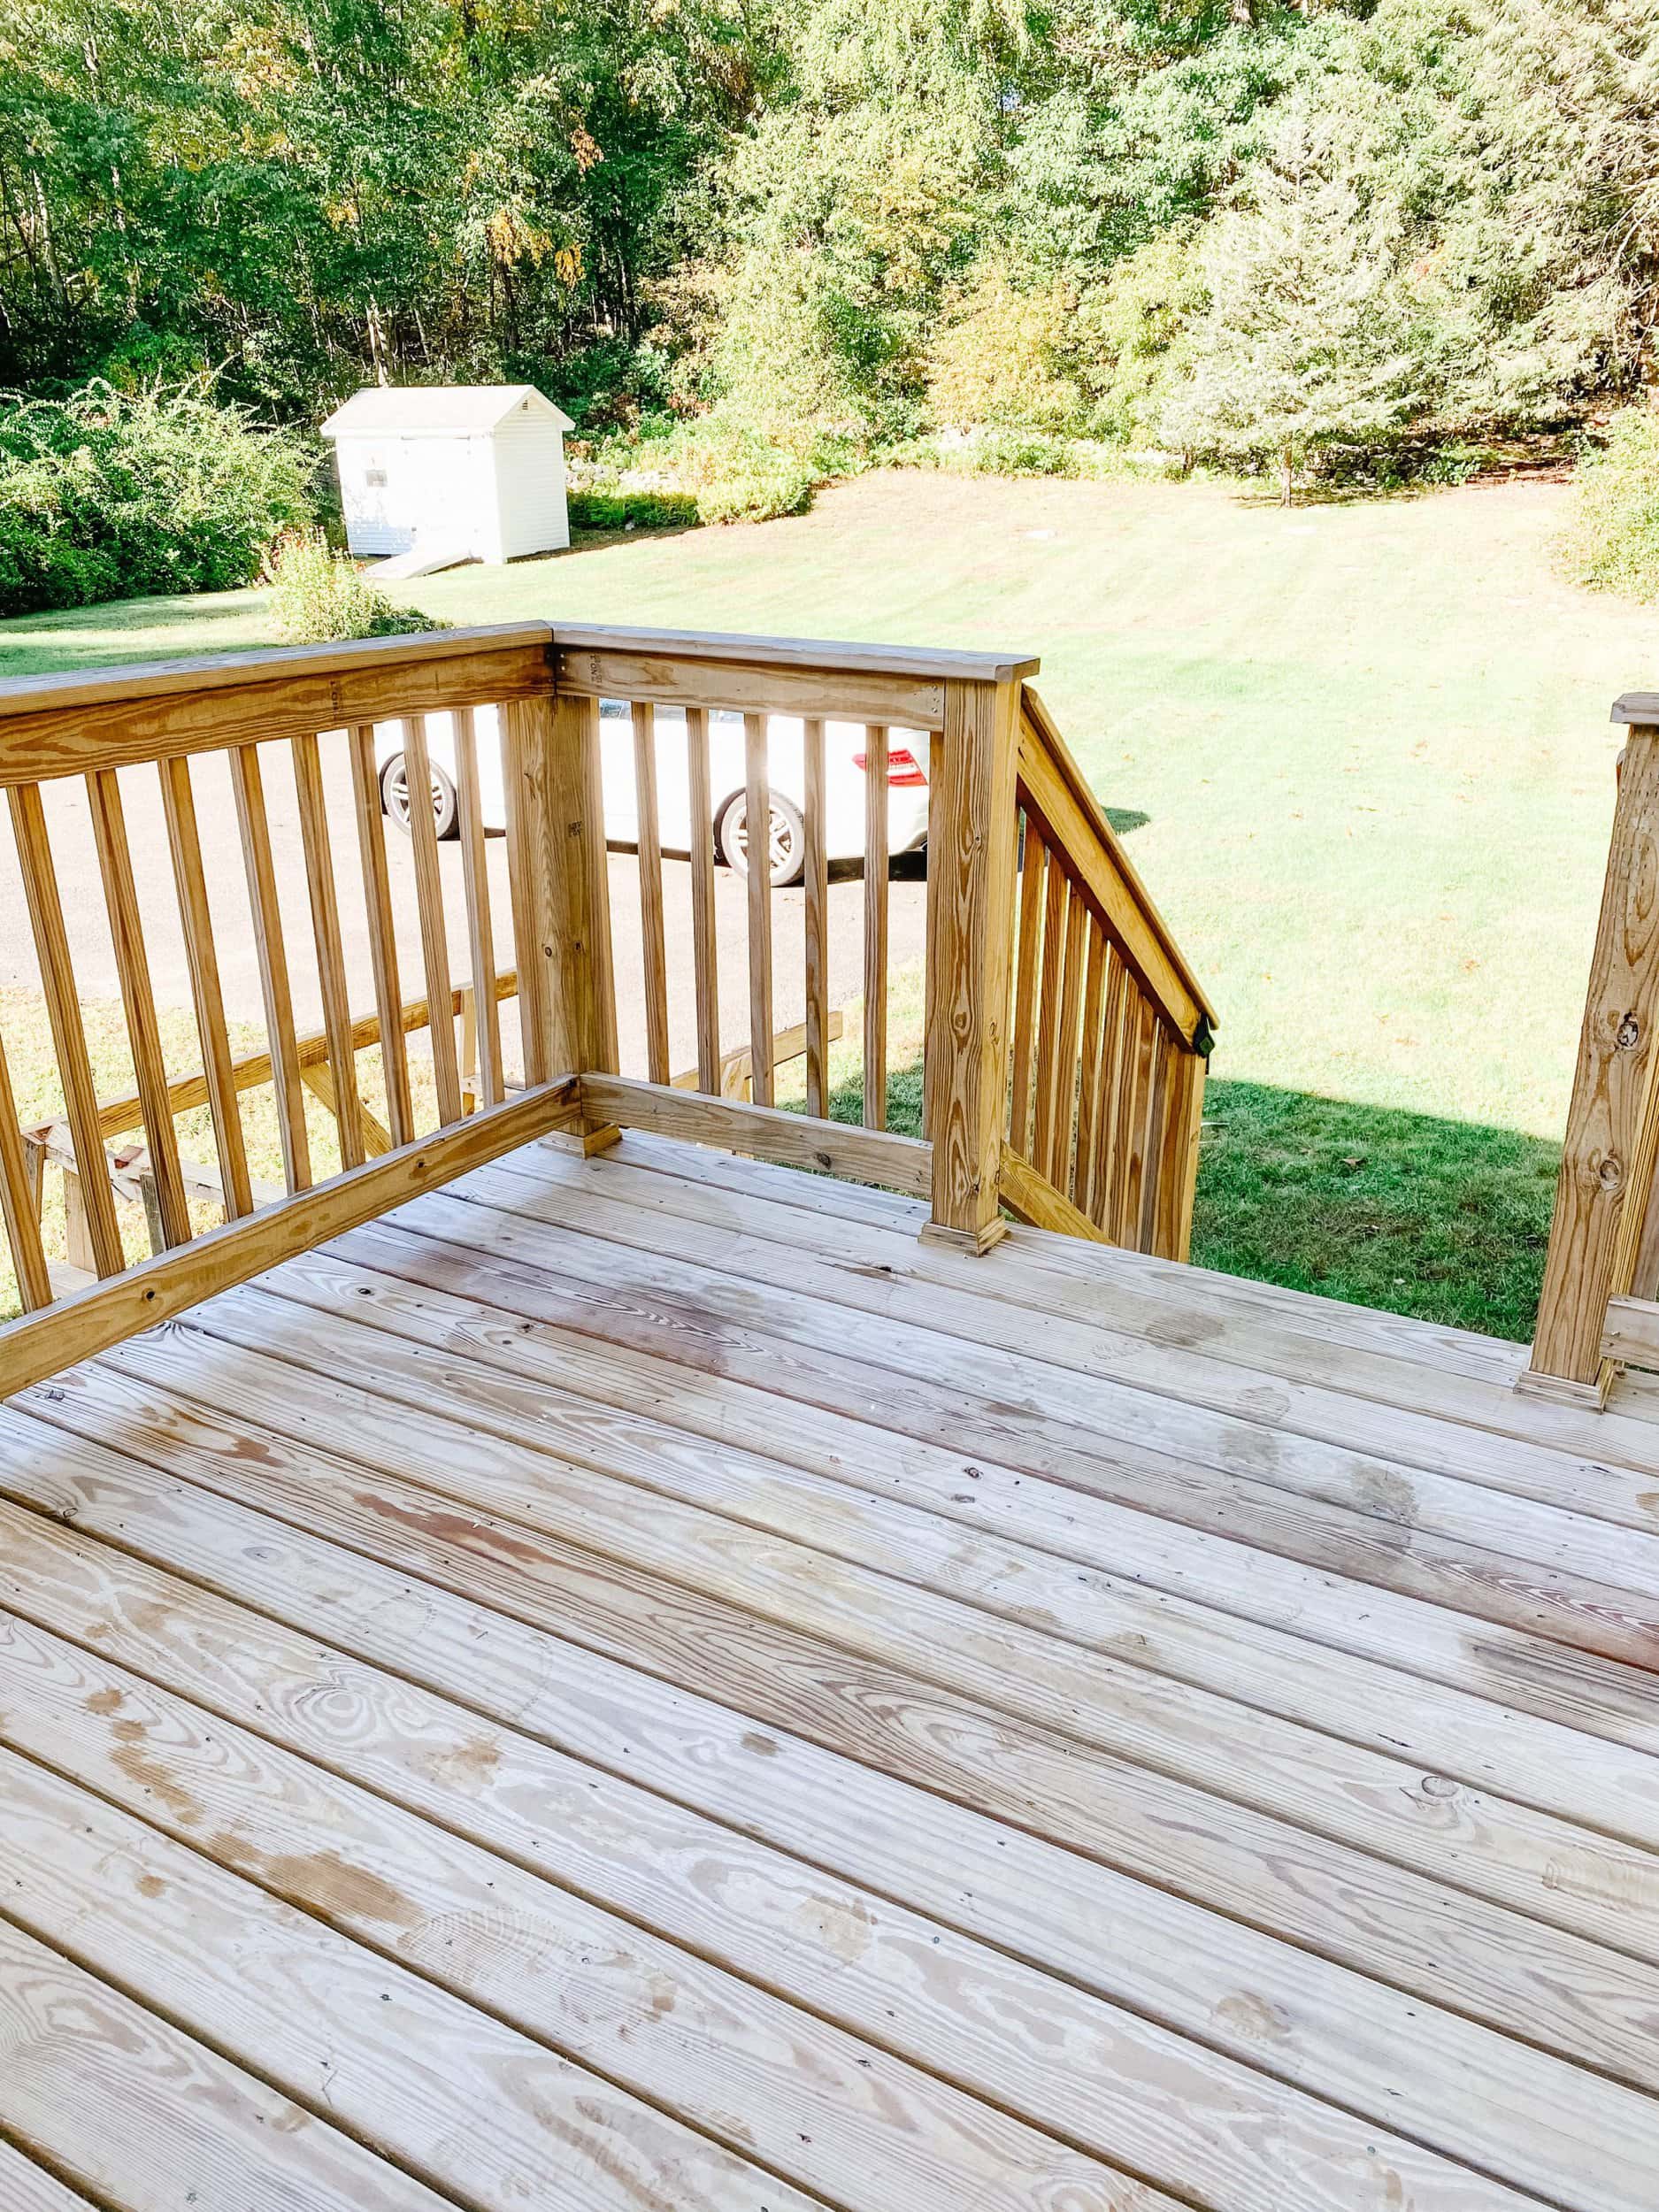
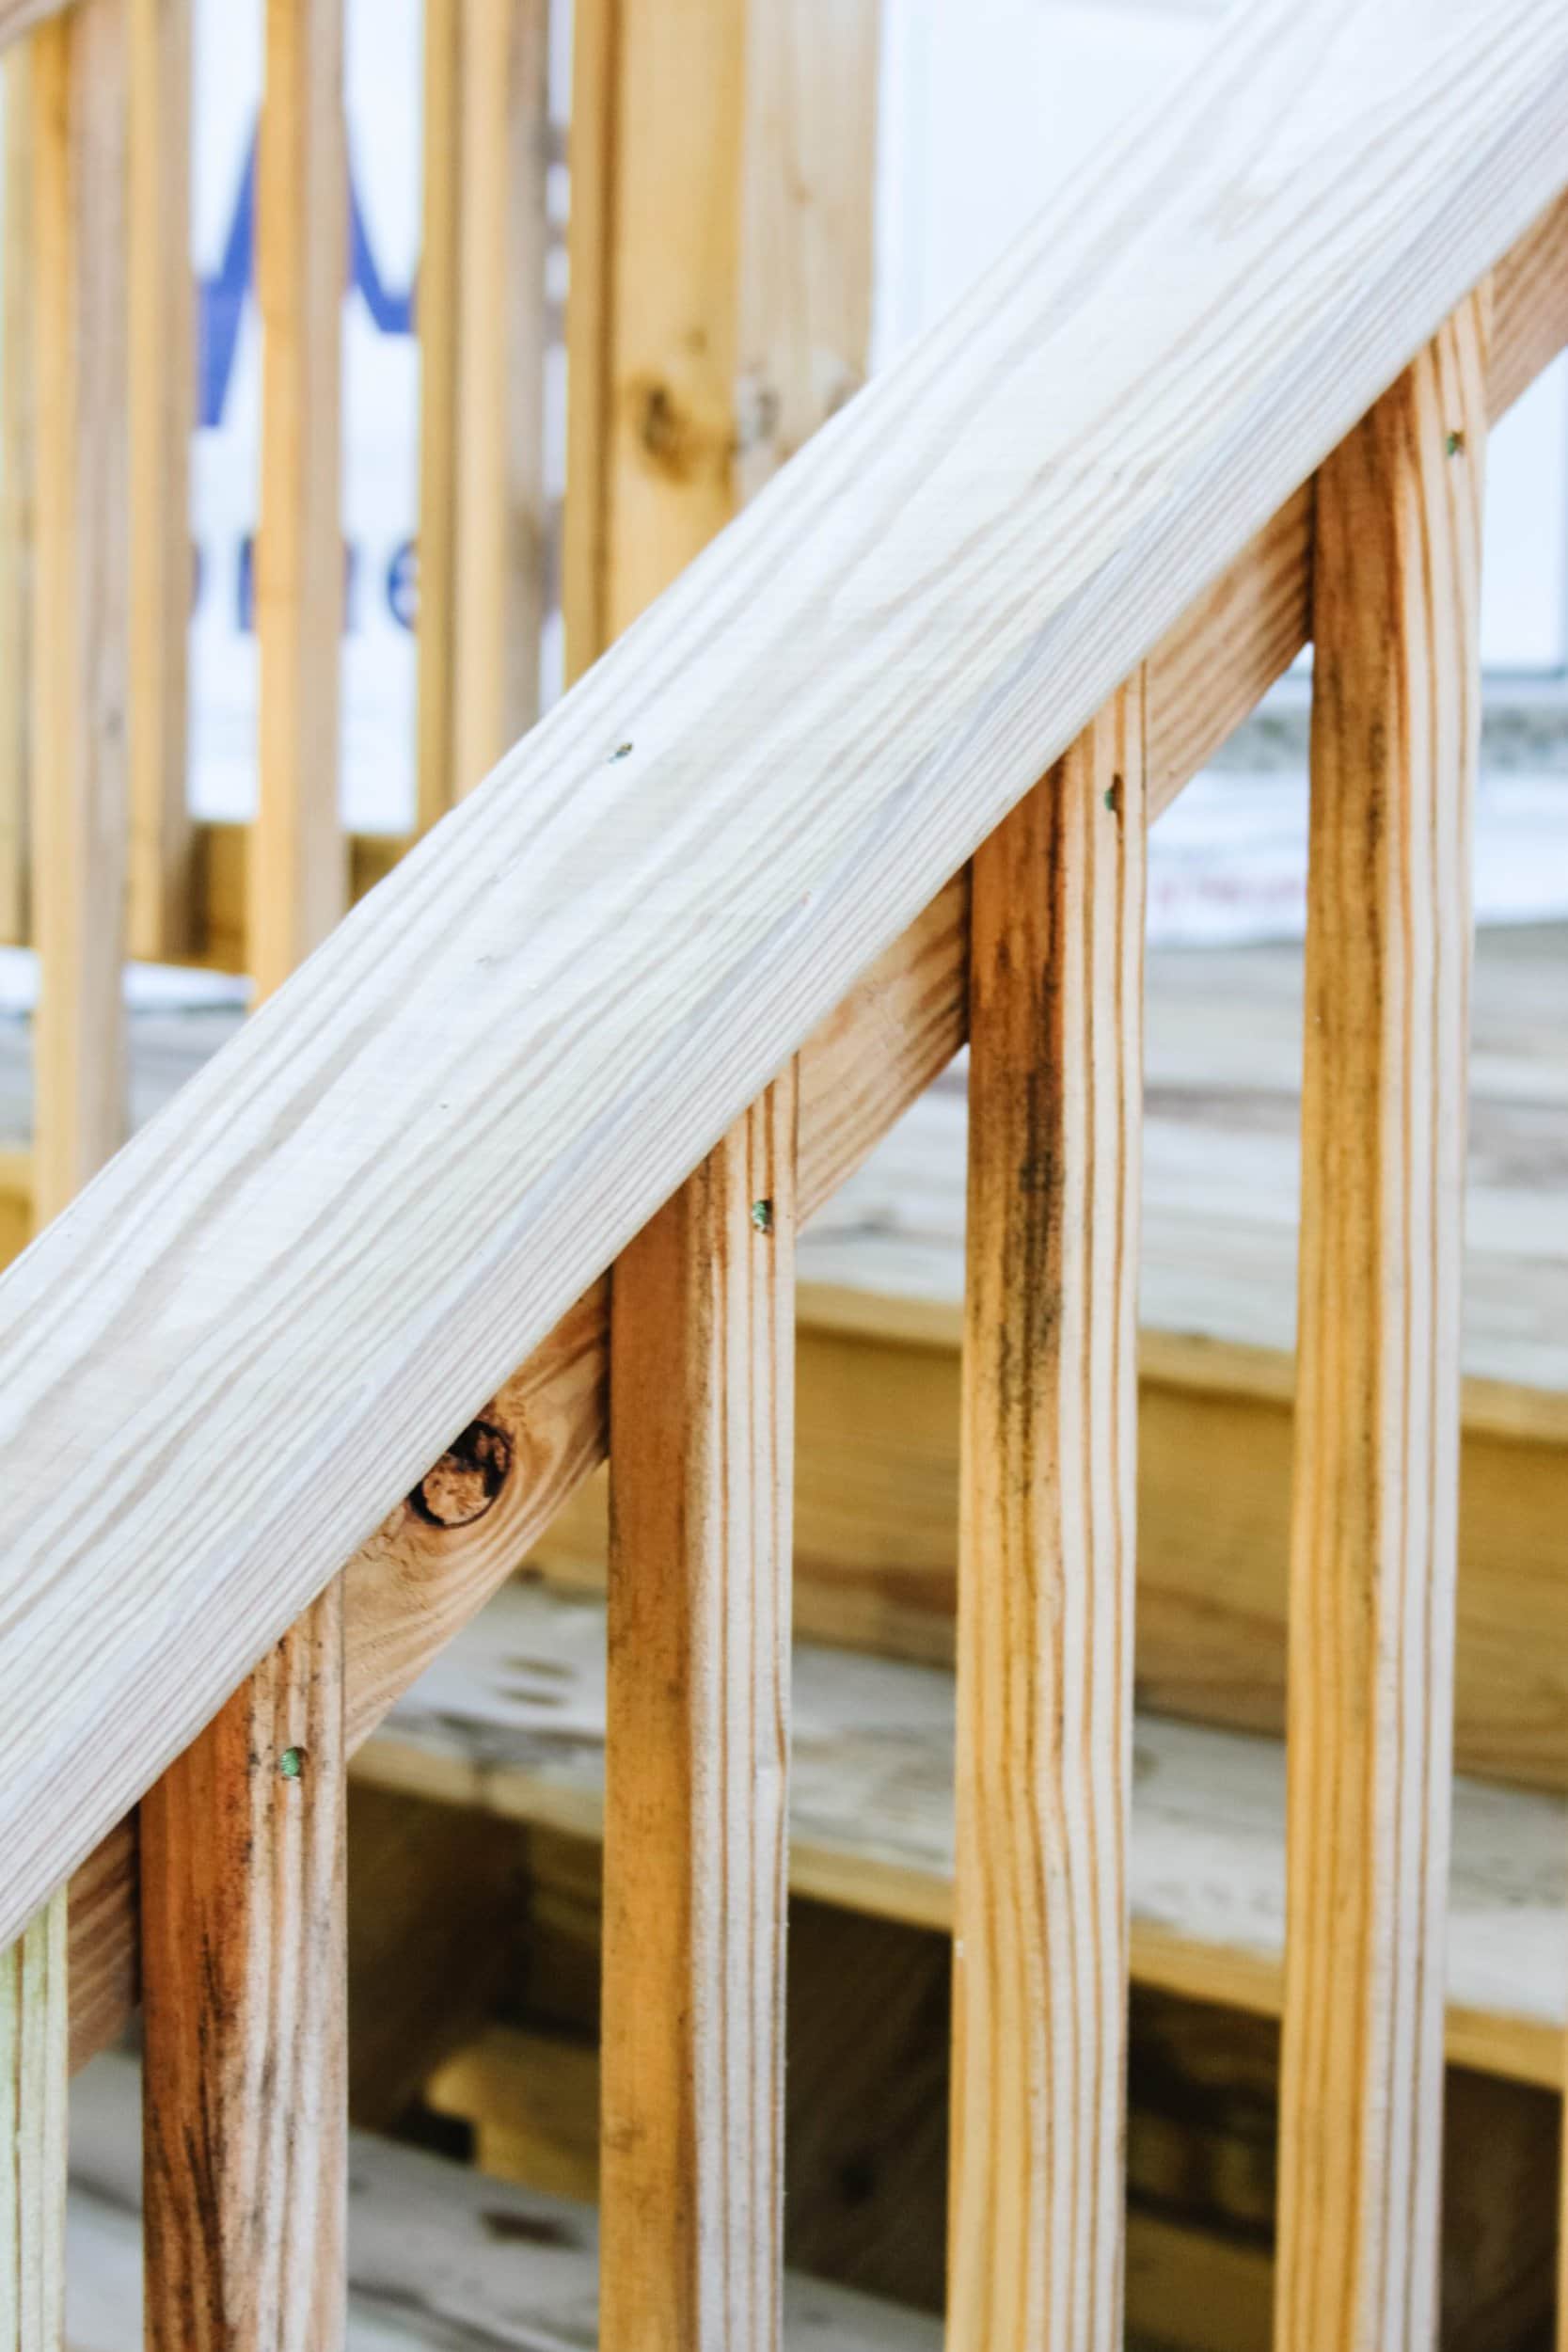
During our home renovation we decided we wanted a deck on the back of the house. We built our deck in August 2020 and let it dry out for a whole year before staining it. When using pressure treated wood it is important to give it at least a full season to dry out otherwise moisture might be trapped inside the wood during the staining process. I wanted to do this project myself (not utilizing a contractor) and I wanted to get it done before the leaves started falling.
When To Stain Your Deck
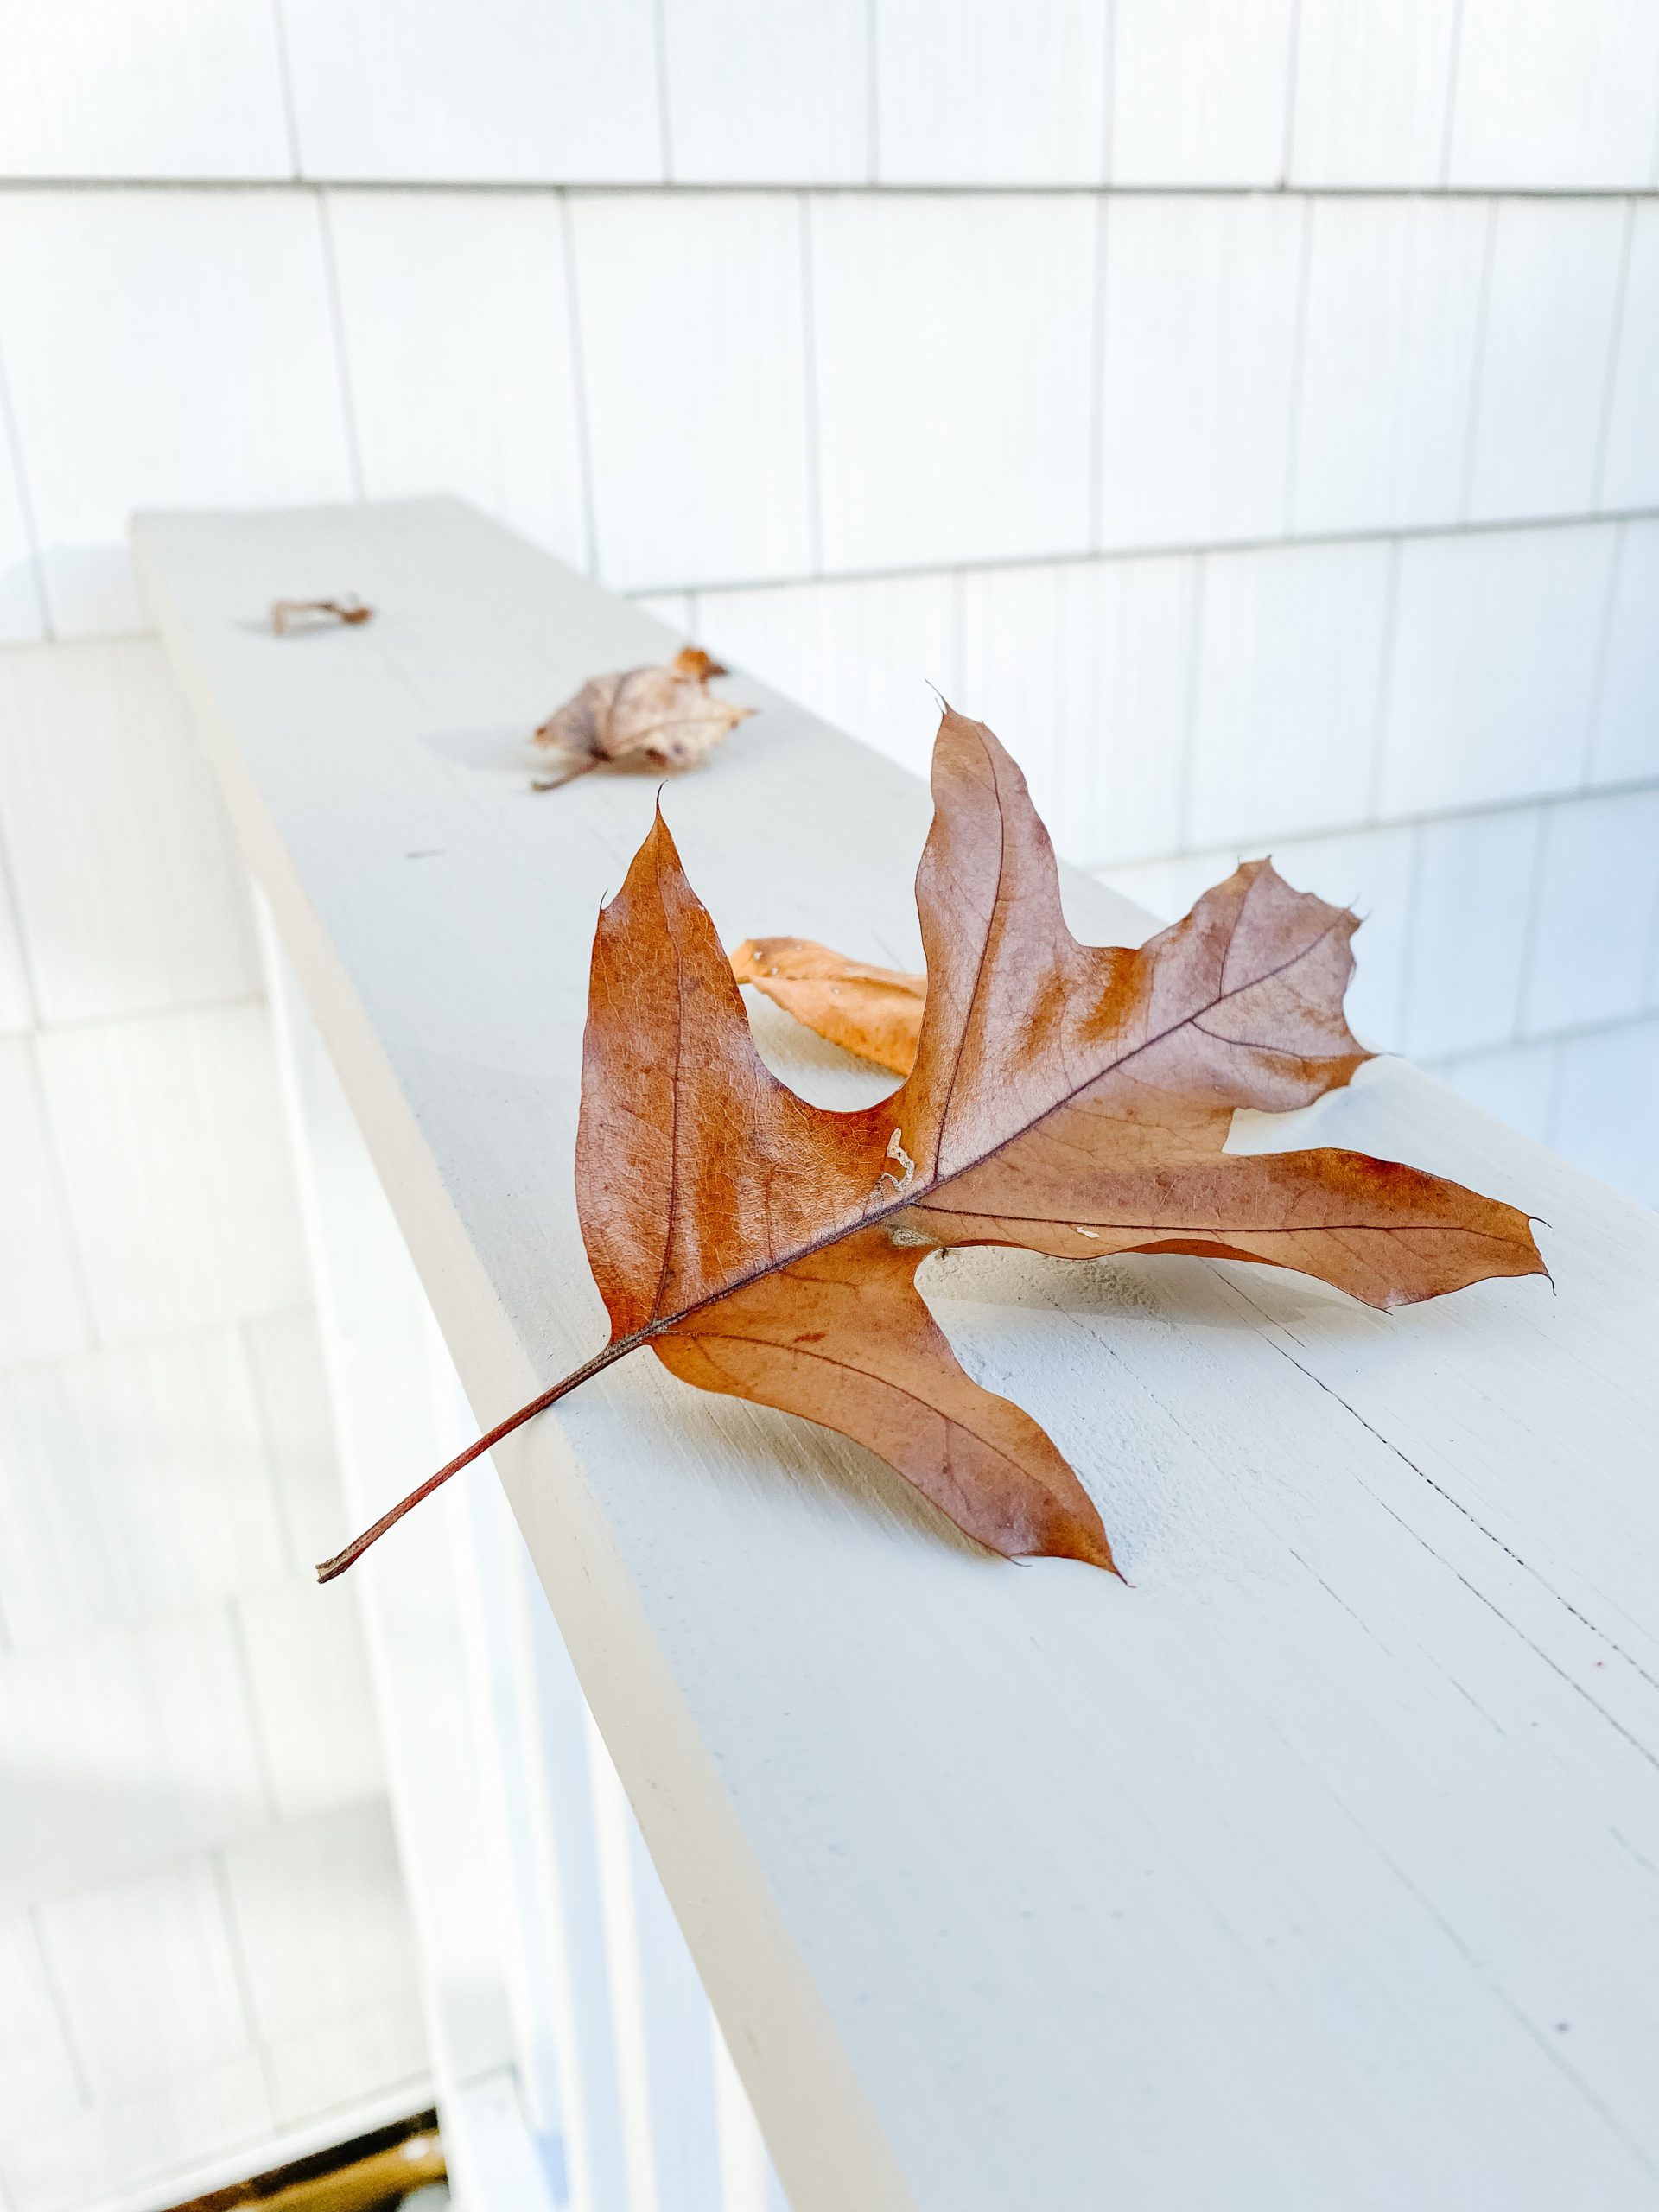
If you live in an area with lots of maple and oak trees you know the pain of leaf staining. Leaves leave behind ugly brown tannin stains and once they start falling they don’t stop! My biggest fear was staining the deck and having the leaves fall into the wet stain and ruining the surface. I also didn’t want to stain the deck in the hot summer sun where I would surely be miserable and sunburnt.
It is important to take into account the weather when preparing to stain your deck. You want to give yourself a minimum of 48 hours for your deck to dry after cleaning it. You will also need 24 hours for it to dry post stain.
Deck Stain Color Selection
The look I was going for was that of Trex composite decking, but at less than 1/2 the cost. I love the look of solid color stain and went with a lighter gray color. While this will definitely show more dirt than a darker stain I wanted a lighter color so it wouldn’t attract the hot summer heat. Our backyard is in 100% direct sunlight from 1 PM until sunset, so it gets hot out there. This is something to keep in mind when selecting your stain color.
I had done a lot of research on different solid color stains and decided to go with the Sherwin Williams Solid Deck Stain. The best part about this stain is you can tint it with any of the colors in the paint line by Sherwin Williams. I chose Pure White for my white stain and Intellectual Gray for the deck base.
Transparent, Semi-Transparent, or Solid Deck Stain?
Before selecting your color and finish it is important to decide what type of deck stain you want to go with. I wanted to achieve the look of Trex composite decking so I went with a solid stain for this project. So what is the difference between the three types of deck stain?
The transparent deck stain is exactly what it sounds like, essentially a clear/tinted protective coat for your deck that protects it from the elements. This is the best option if you want the knots, grain, and natural texture of the wood to show through.
A semi-transparent stain is similar to a transparent stain but differs in that it has a layer of coverage to it. Semi-transparent stain still allows the knots and grain to show through the color, but not as much as a transparent stain.
A solid stain is what I chose for this project to get the “look” of composite decking. A solid stain is essentially like painting your deck but with weather protection. I do not recommend using outdoor paint for your deck, you should select a solid stain for maximum protection. With a solid stain you will not be able to see the wood grain or knots; it is an opaque finish.
How To Prepare the Deck for Stain
Prepping the deck is the most important step, and if you skimp out on this step the stain may wear or peel prematurely. Some might recommend pressure washing the deck but I avoided this step as it can cause gouges, splinters, and warping if done improperly.
I applied my wood putty and used the knife to ensure the surface was smooth, then sanded it before washing the deck. I only did this for major holes that needed to be filled in the deck, I didn’t go crazy.
Instead of power-washing it is important to clean your deck thoroughly to eliminate any dirt, debris, mold, or mildew before staining and sealing. To clean my deck I used a long arm bristle brush and Sherwin Williams Superdeck Deck Wash. Once the deck is thoroughly cleaned it needs to dry for a minimum of 48 hours to ensure no moisture is trapped before it is stained.
The type of deck wash you use to clean your deck depends on if your deck is new or previously sealed. If previously stained/sealed you will need to use a cleaner with a stripping agent to remove the previous stain before applying a new coat of stain. My deck was new and never stained so this deck wash worked perfectly.
Deck Staining Materials
- Paintbrush Roller with long handle
- Large Paint Tray
- Angled Paint Brush
- Small Paint Tray
- Small Craft Brush
- Wood Putty
- Putty Knife
- Paint Edger
- Large Foam Brush
How To Stain a Wood Deck
Now onto the important part, how do you actually stain your wood deck?
Preparing Your Deck For Stain
- Prep the deck for stain – First I filled any major holes with wood putty and used the knife to smooth them out. Then I went over them with a high grit sandpaper to ensure they were smooth.
- Next I washed the deck with Sherwin Williams Superdeck Wash. I sprayed the wash on, let it sit for 10 minutes per the instructions, used a bristle brush to scrub, and rinsed it off. This is a strong chemical and lightening agent so be careful when using this and be sure to wear clothes you don’t care about!
- Let the deck dry for a minimum of 48 hours before you begin staining.
Staining Your Deck
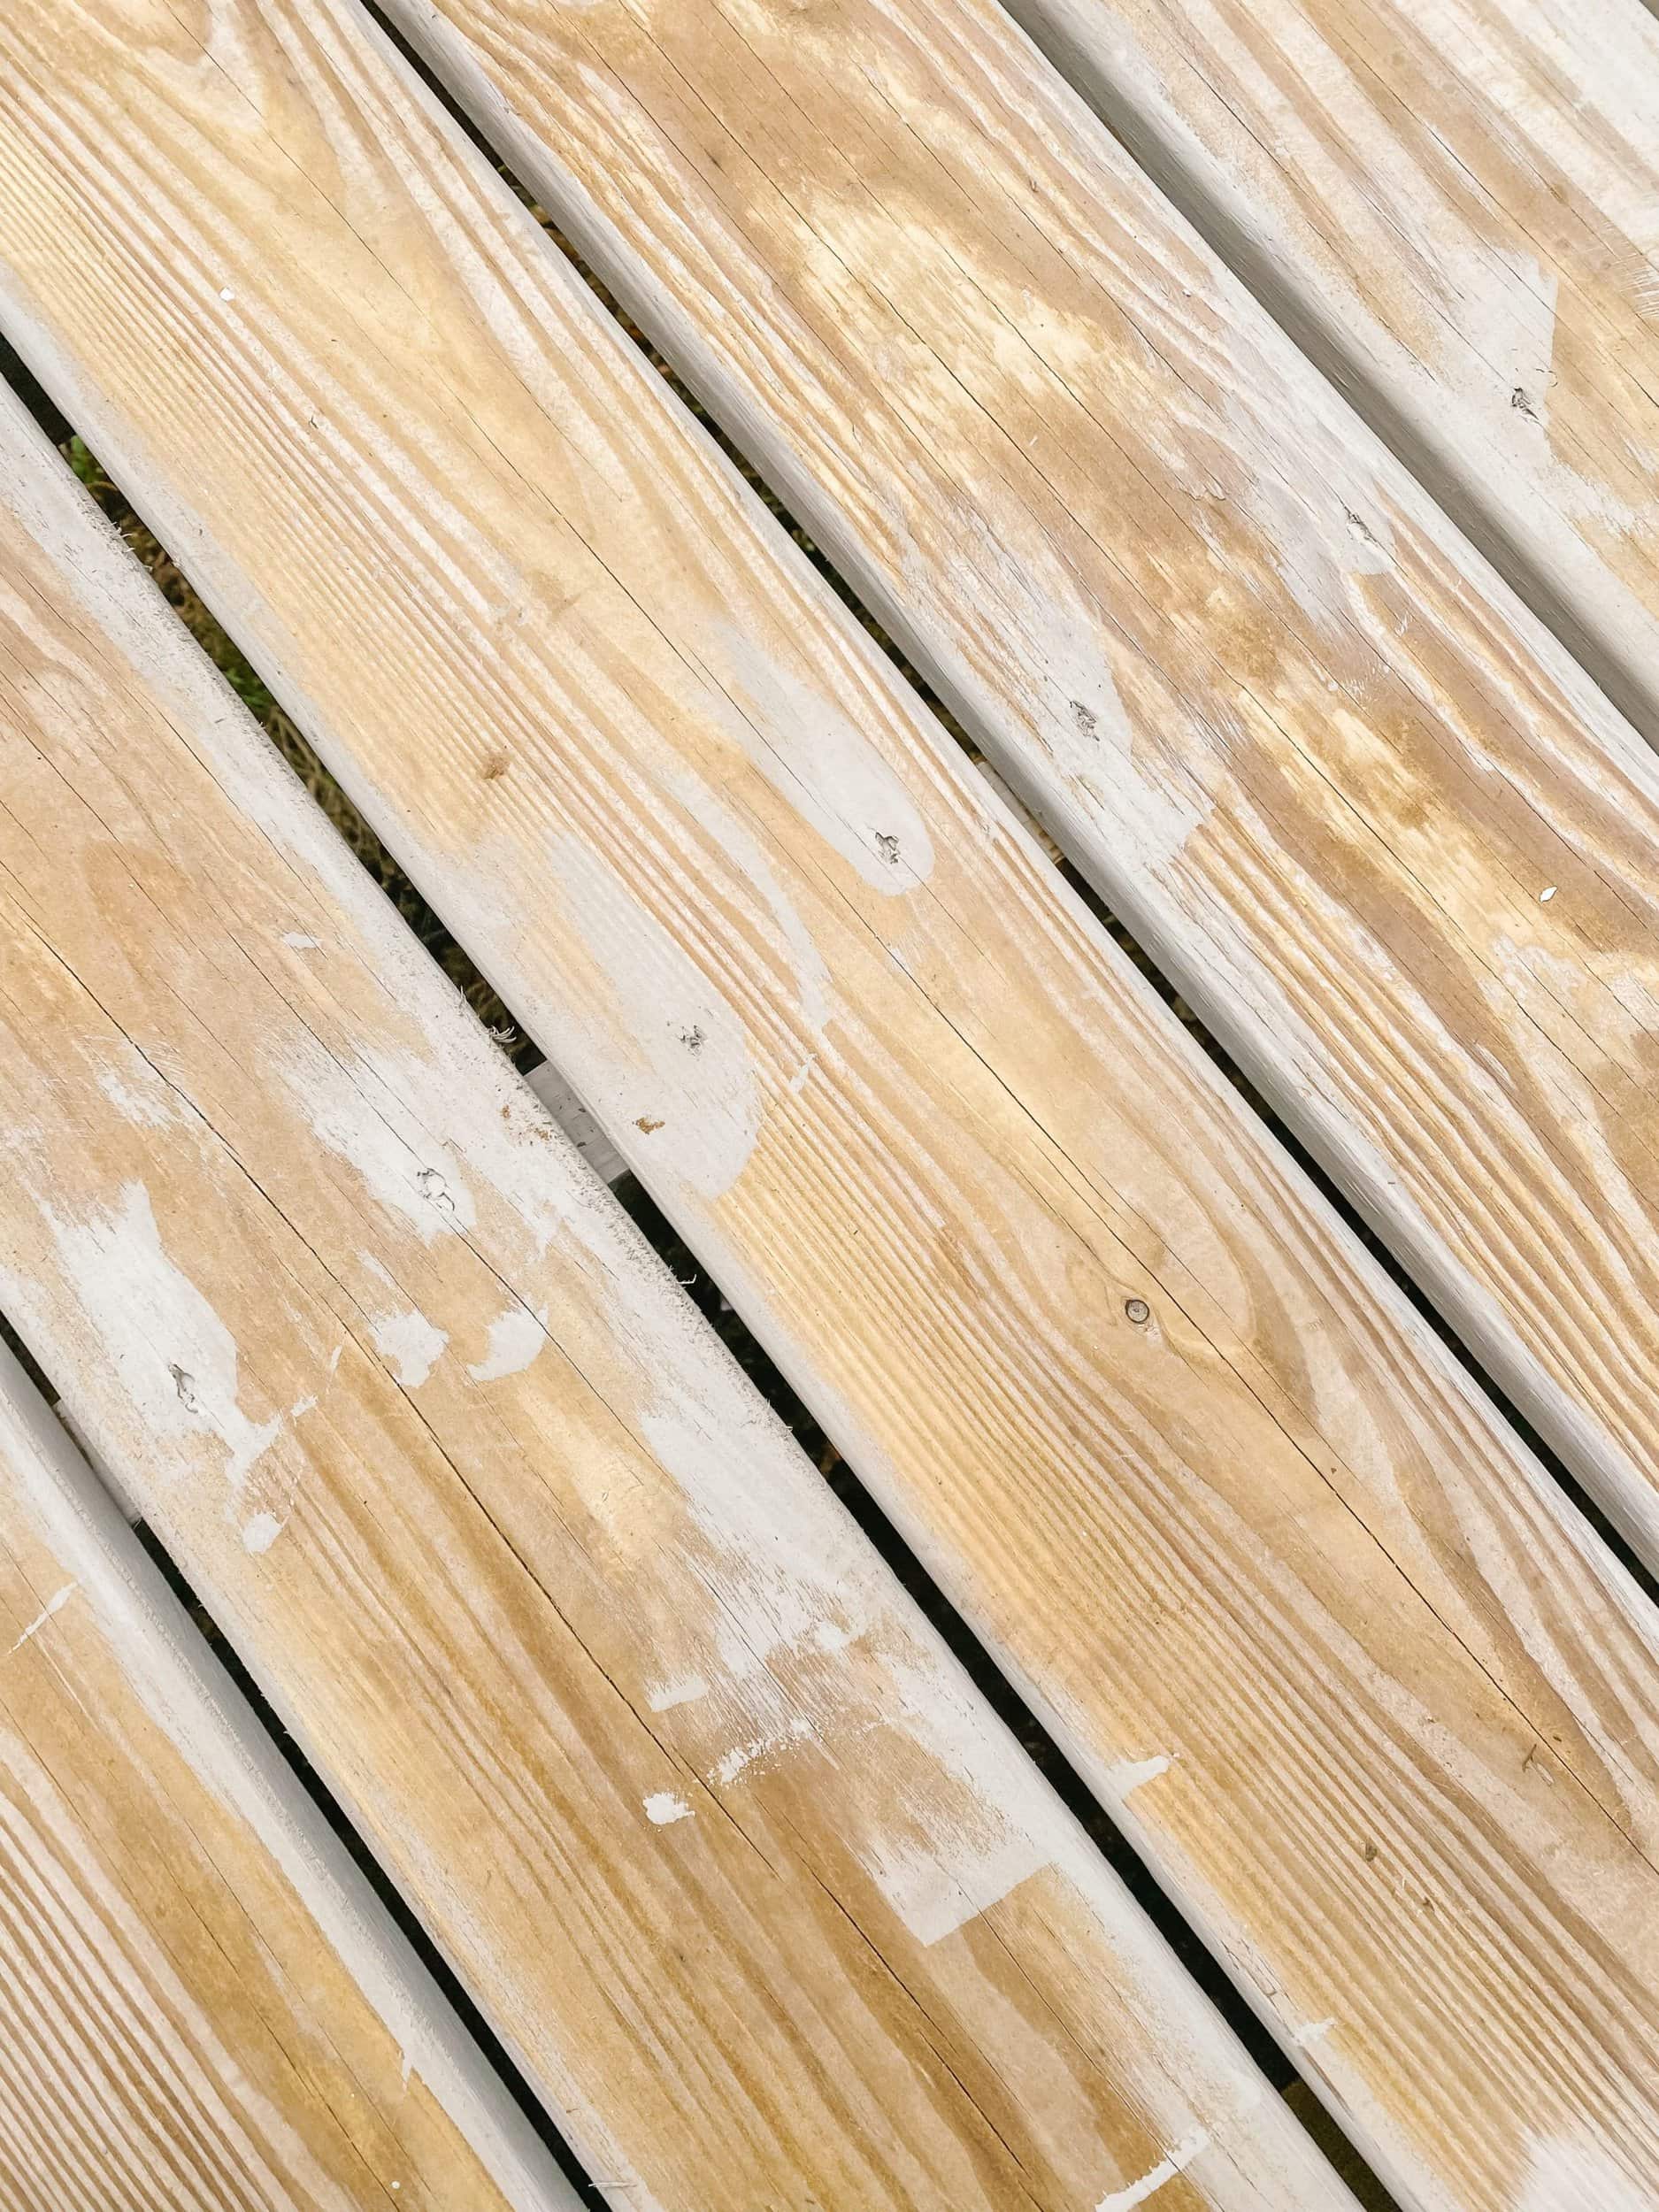
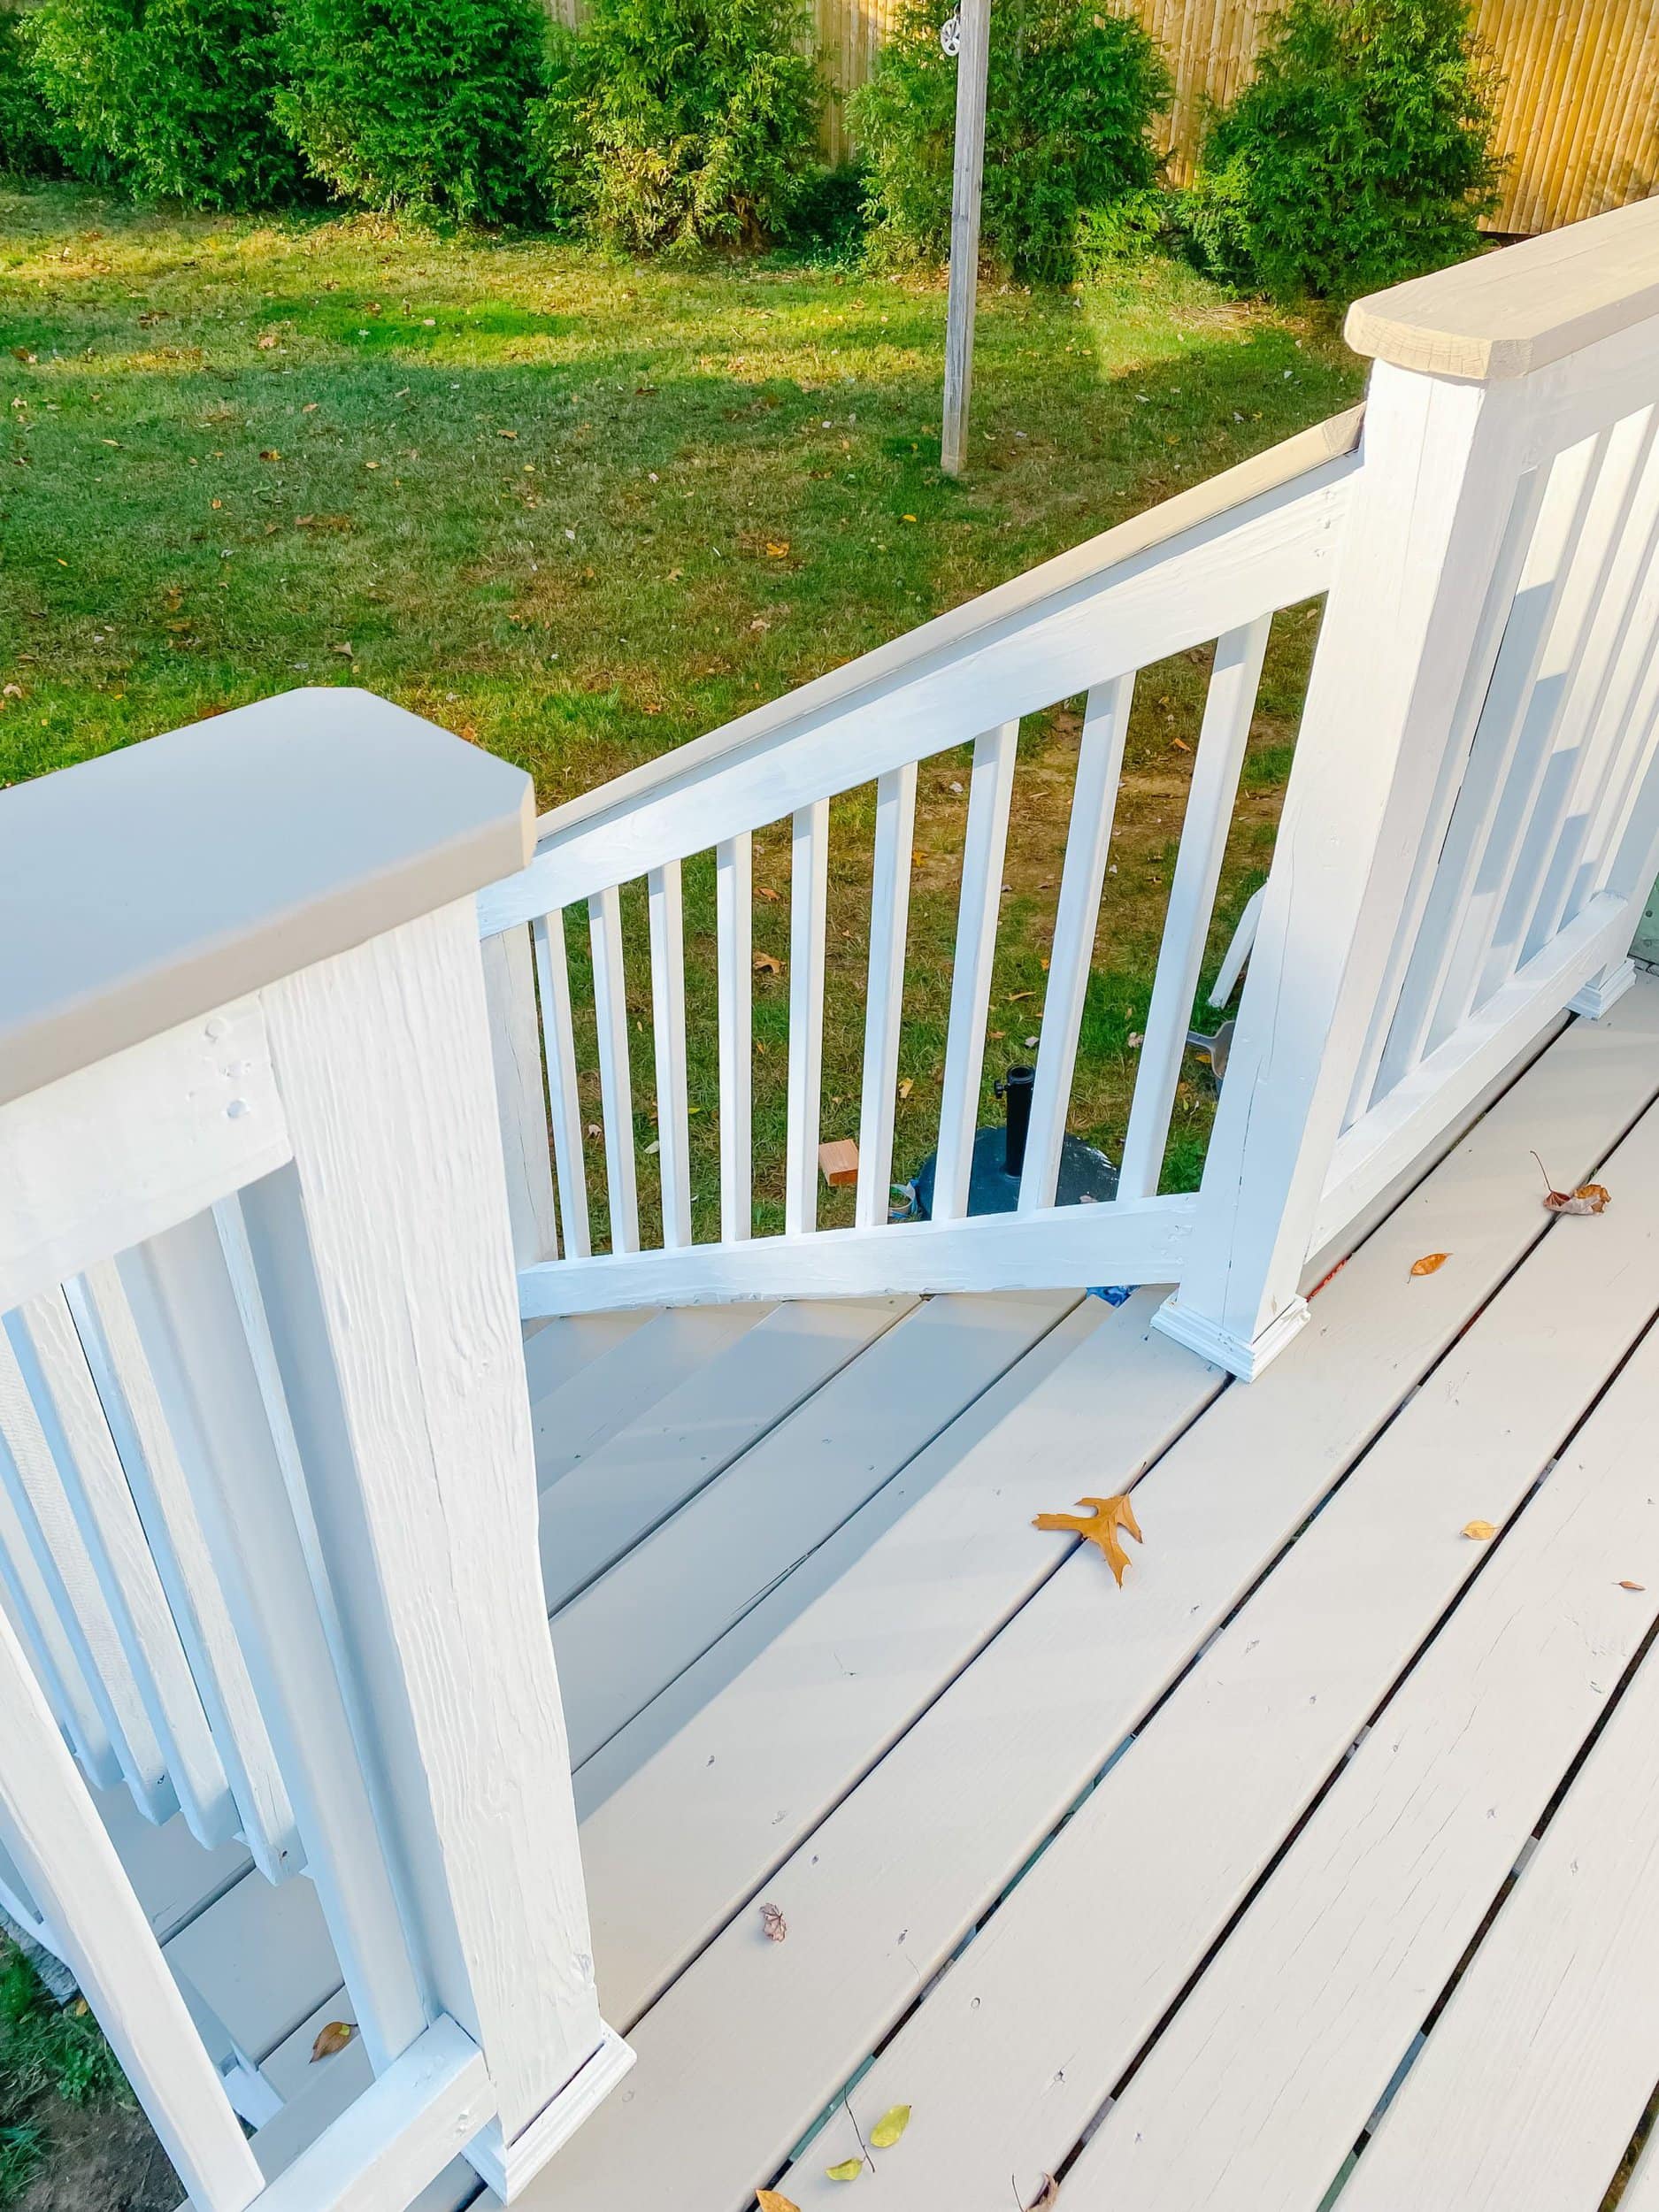
- Start with the white stain since any accidental drips made with this color will be covered by the darker gray color.
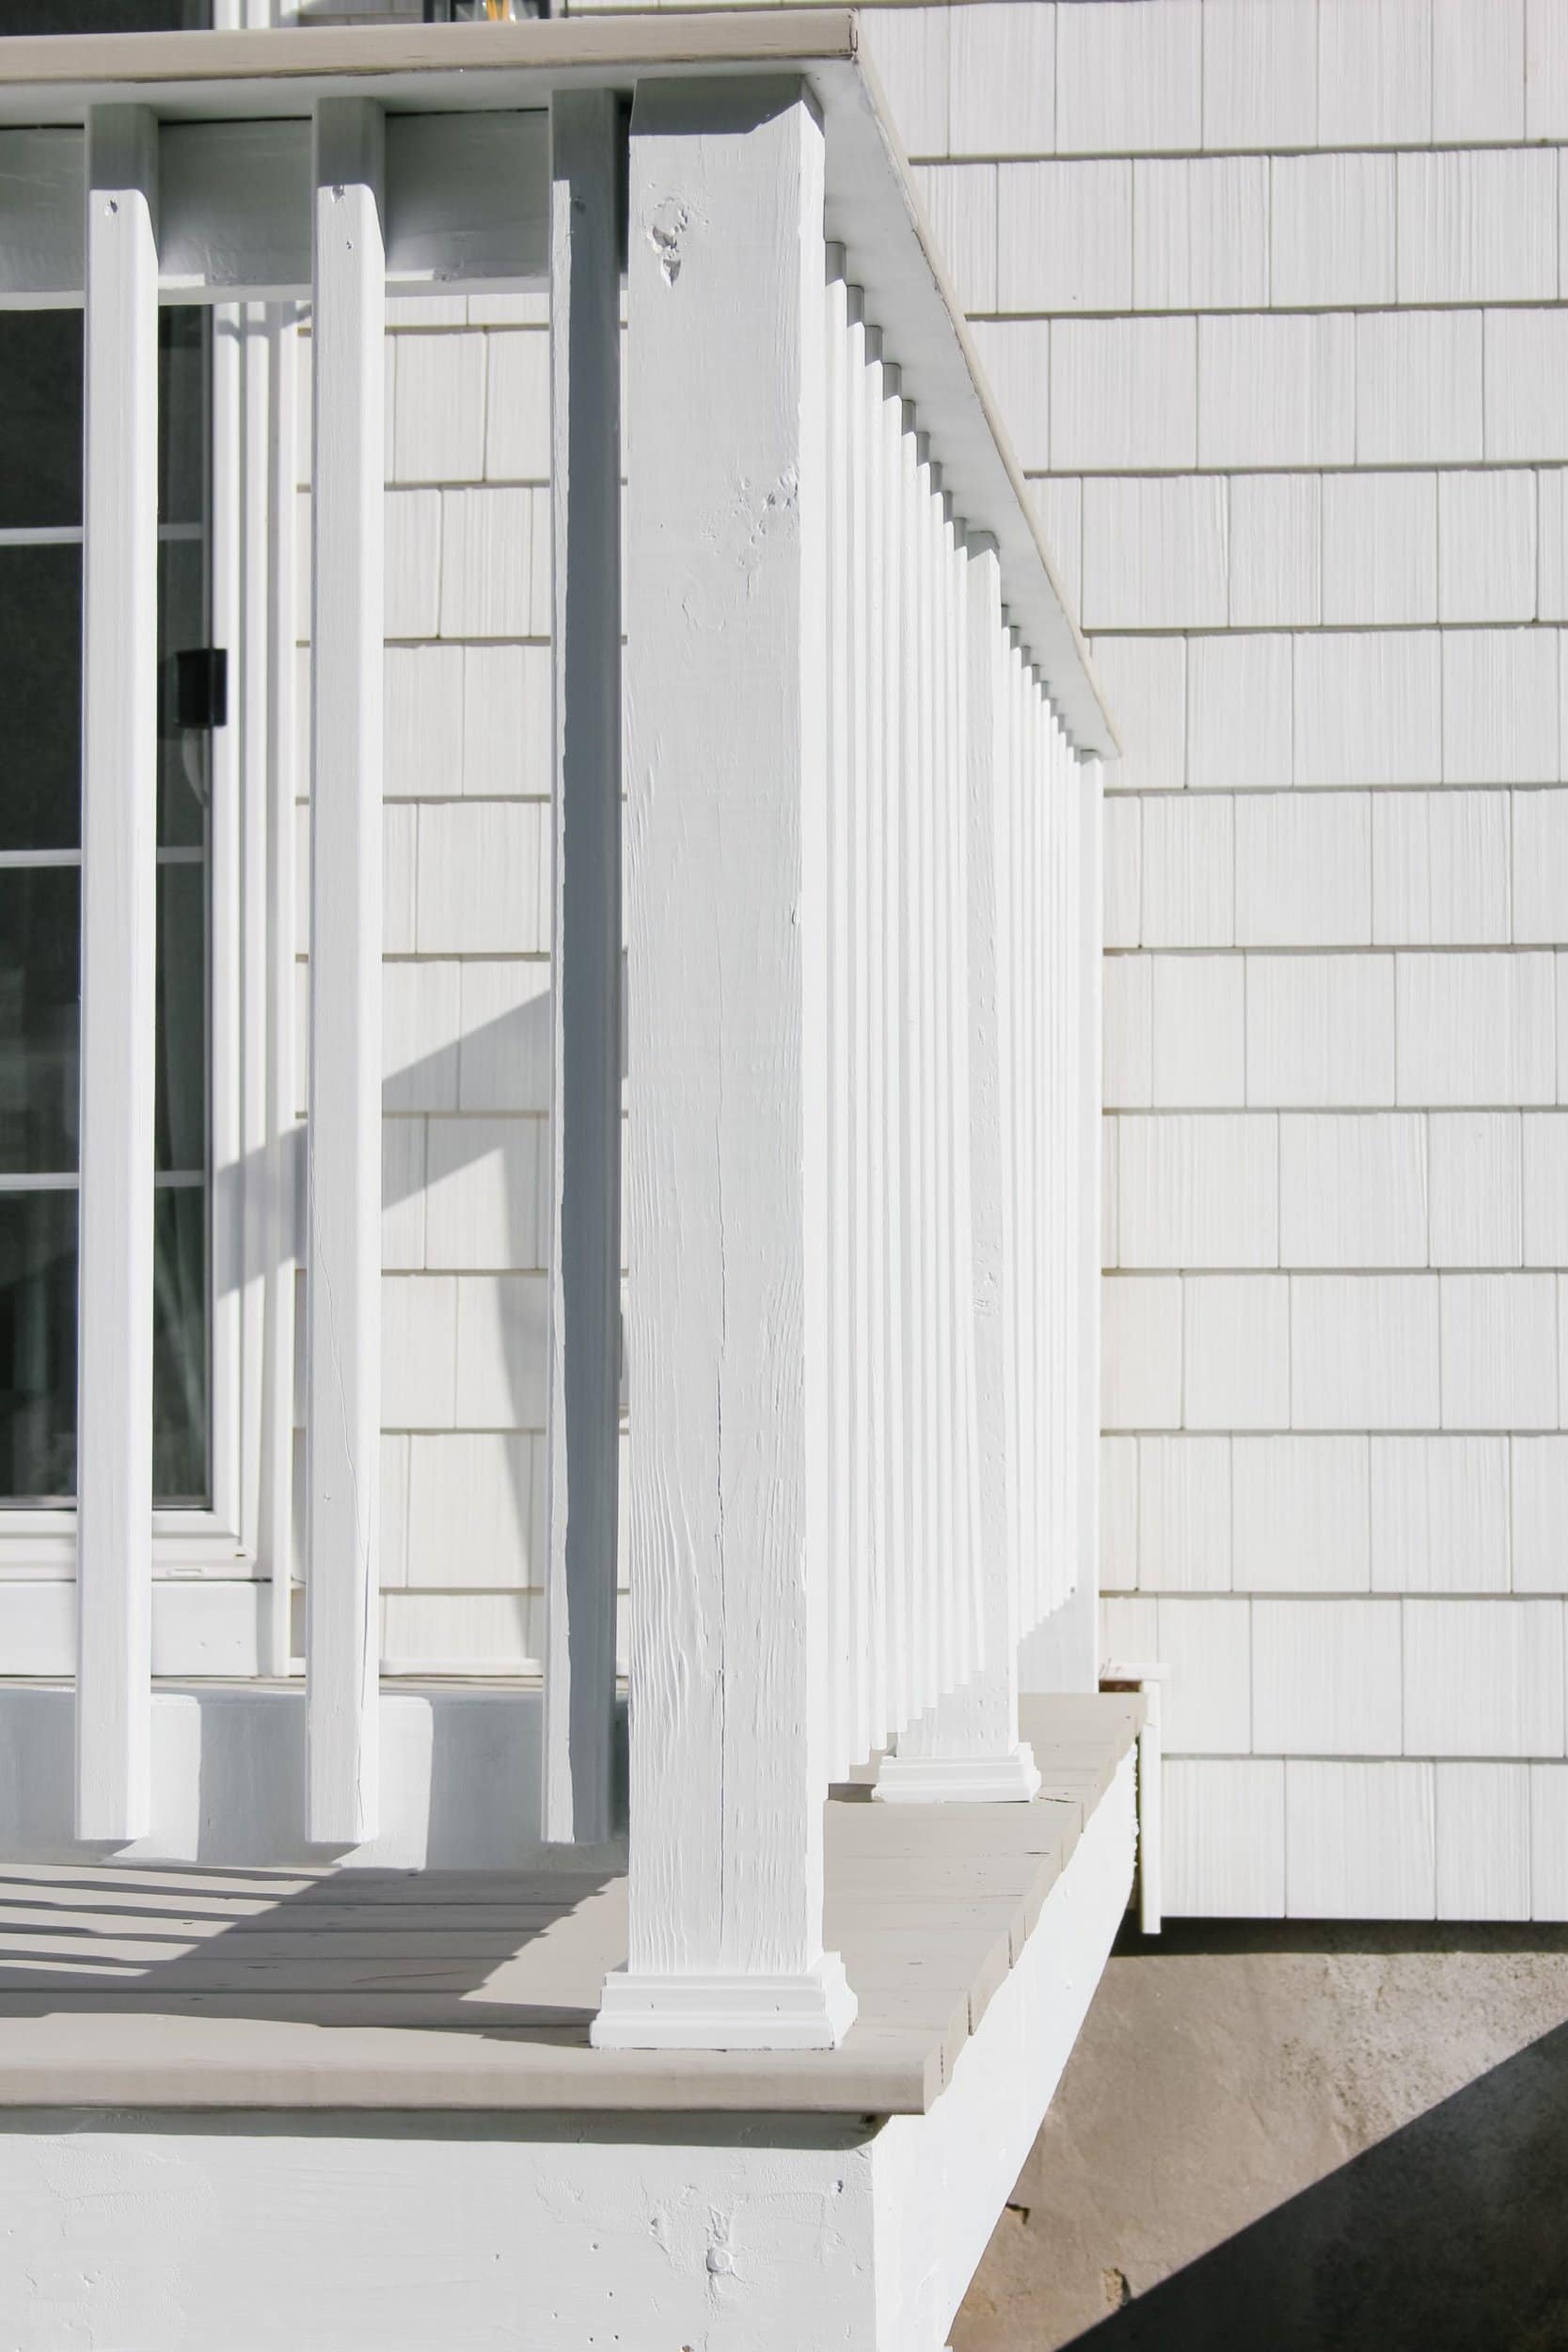
- Tape off all of the feet of the posts with your painters tape & the top rail which will also be stained gray.
- Once taping is done I started with the spindles and applied the first coat using the small paint tray, paint edger and angled brush. The edger made it easier to get in between the spindles where it was harder to get the angled brush. A paint sprayer would be ideal and would cut the time of this step in half, but because I did not have one I did this by hand.
- After applying one coat to all spindles I went back in and applied a second coat.
- At this point all white color should be complete and have 2 coats. Before staining the base of the deck gray I stained between the boards using the foam brush and covered my nail holes with paint as well.
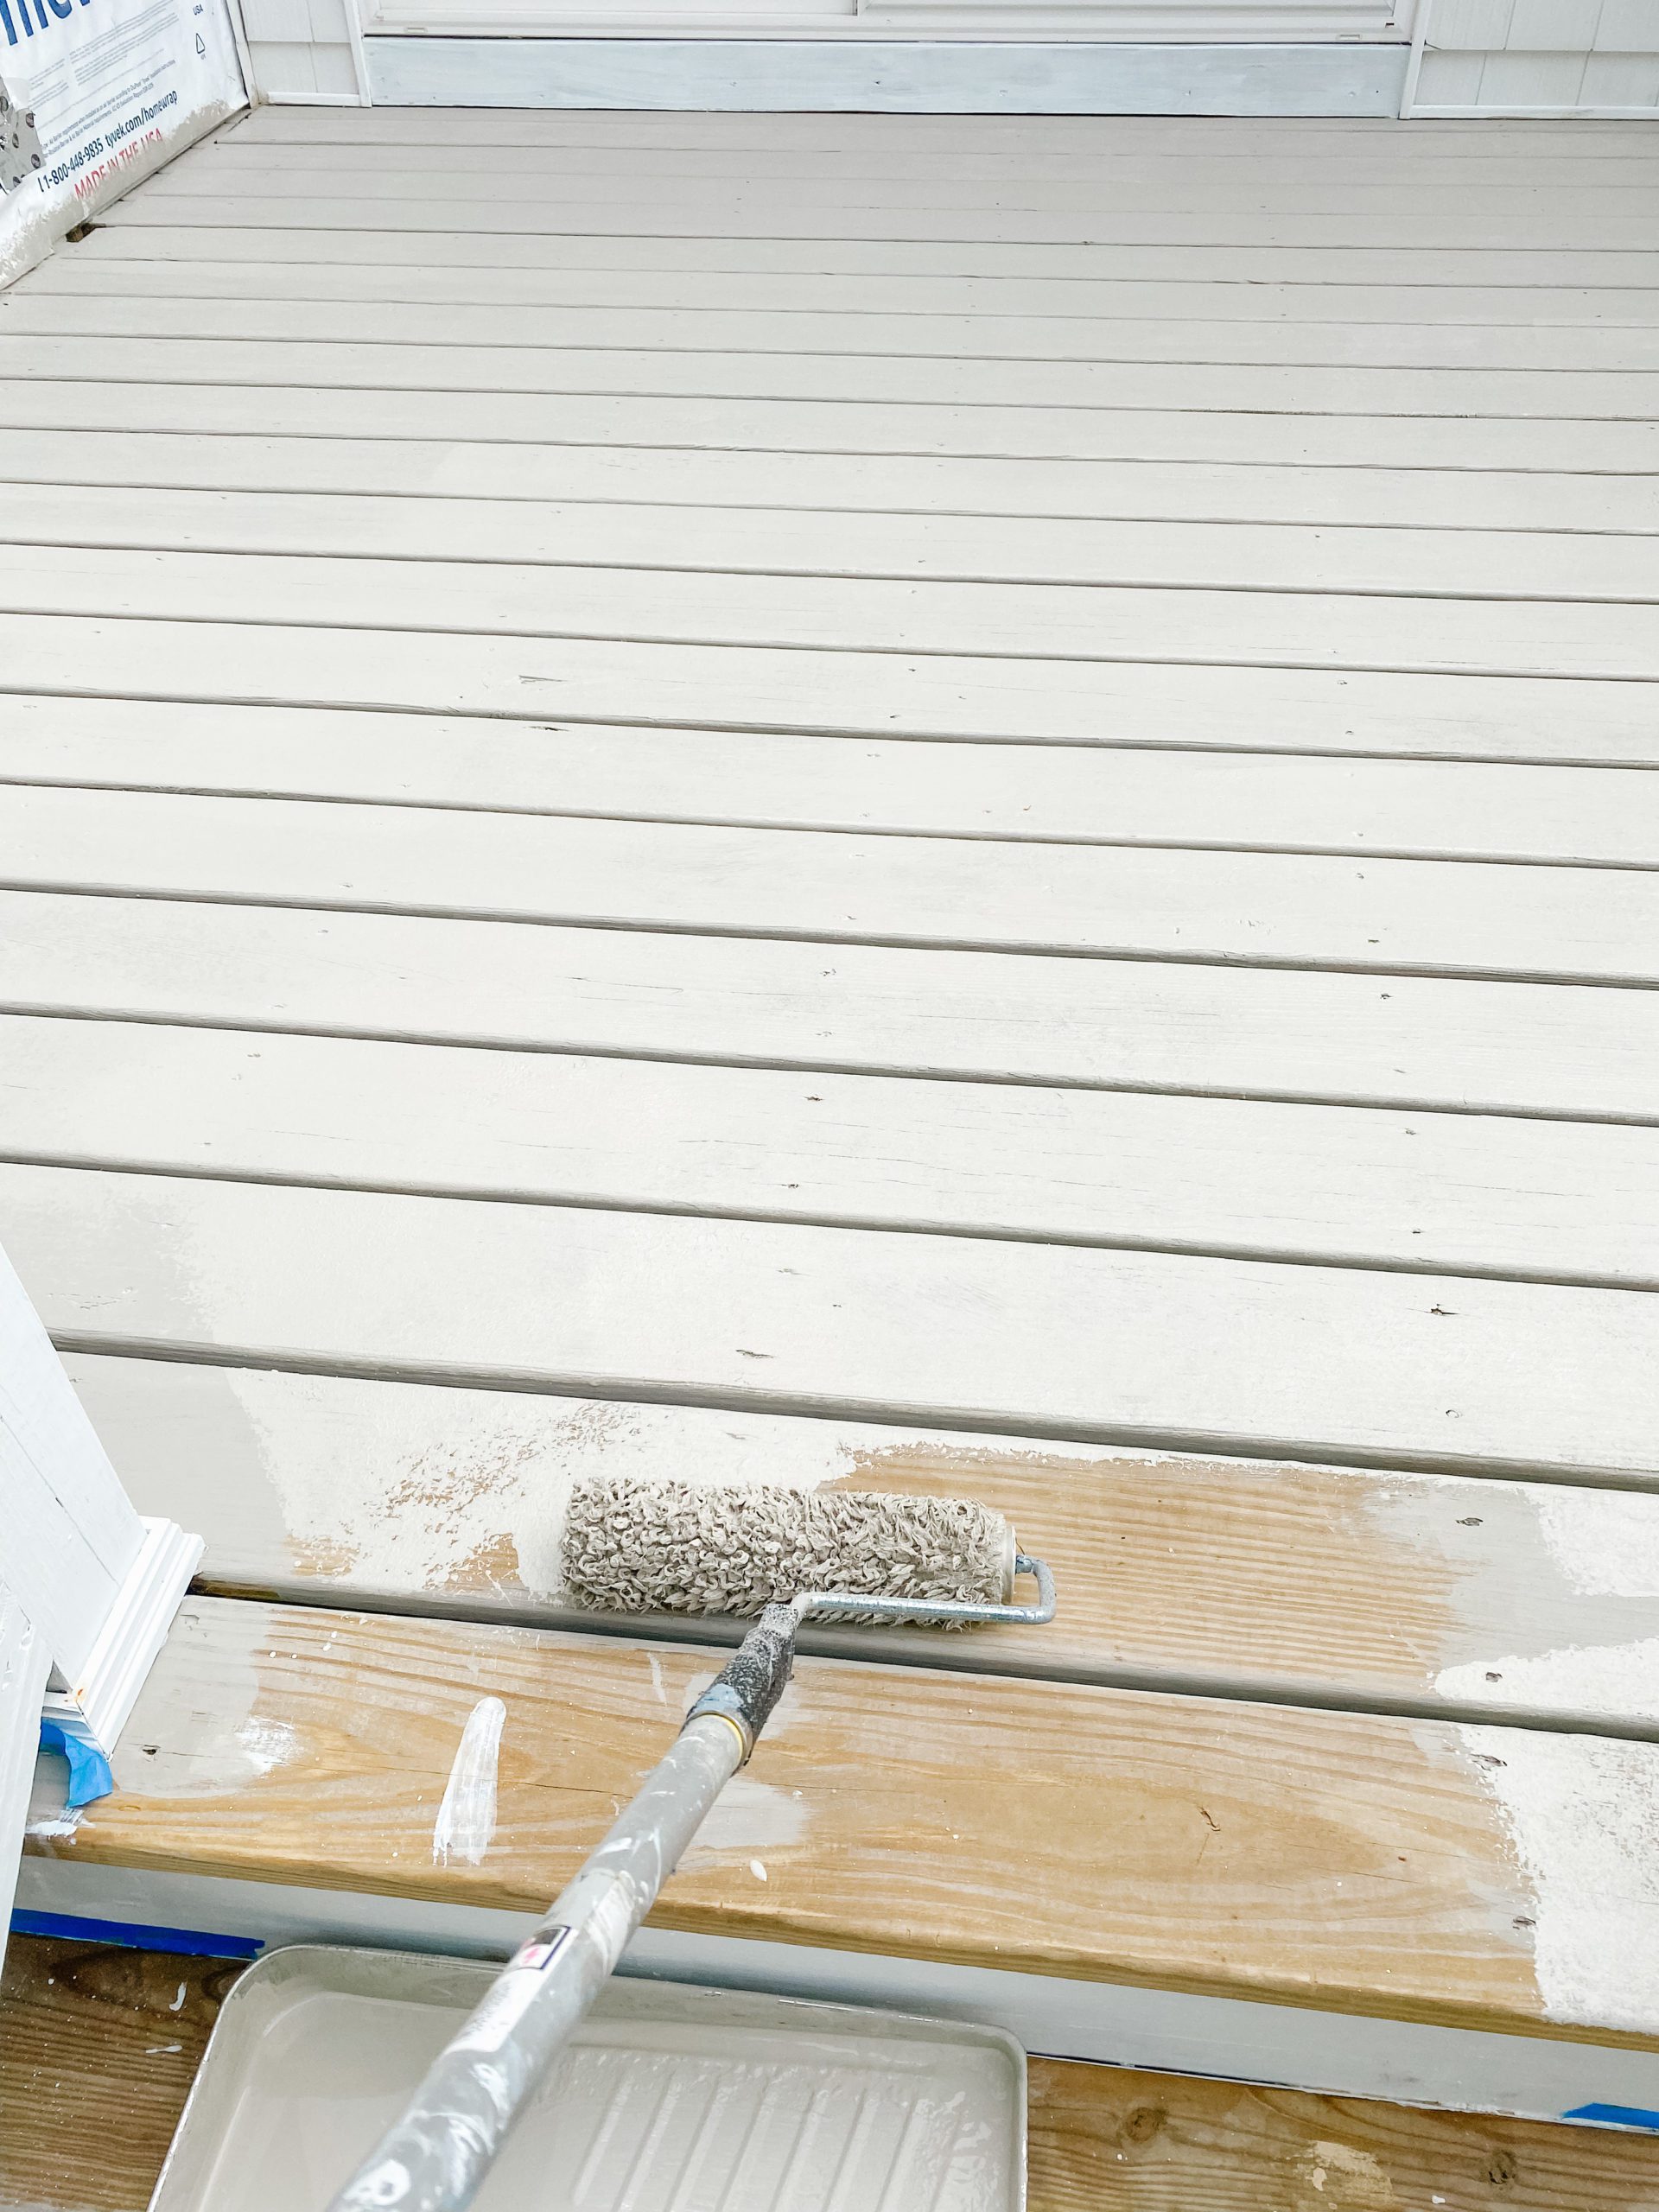
- Now that the nails and between the boards has been stained I used the paintbrush to cut the gray color in along the sides of the house and the places that couldn’t be reached with the long roller.
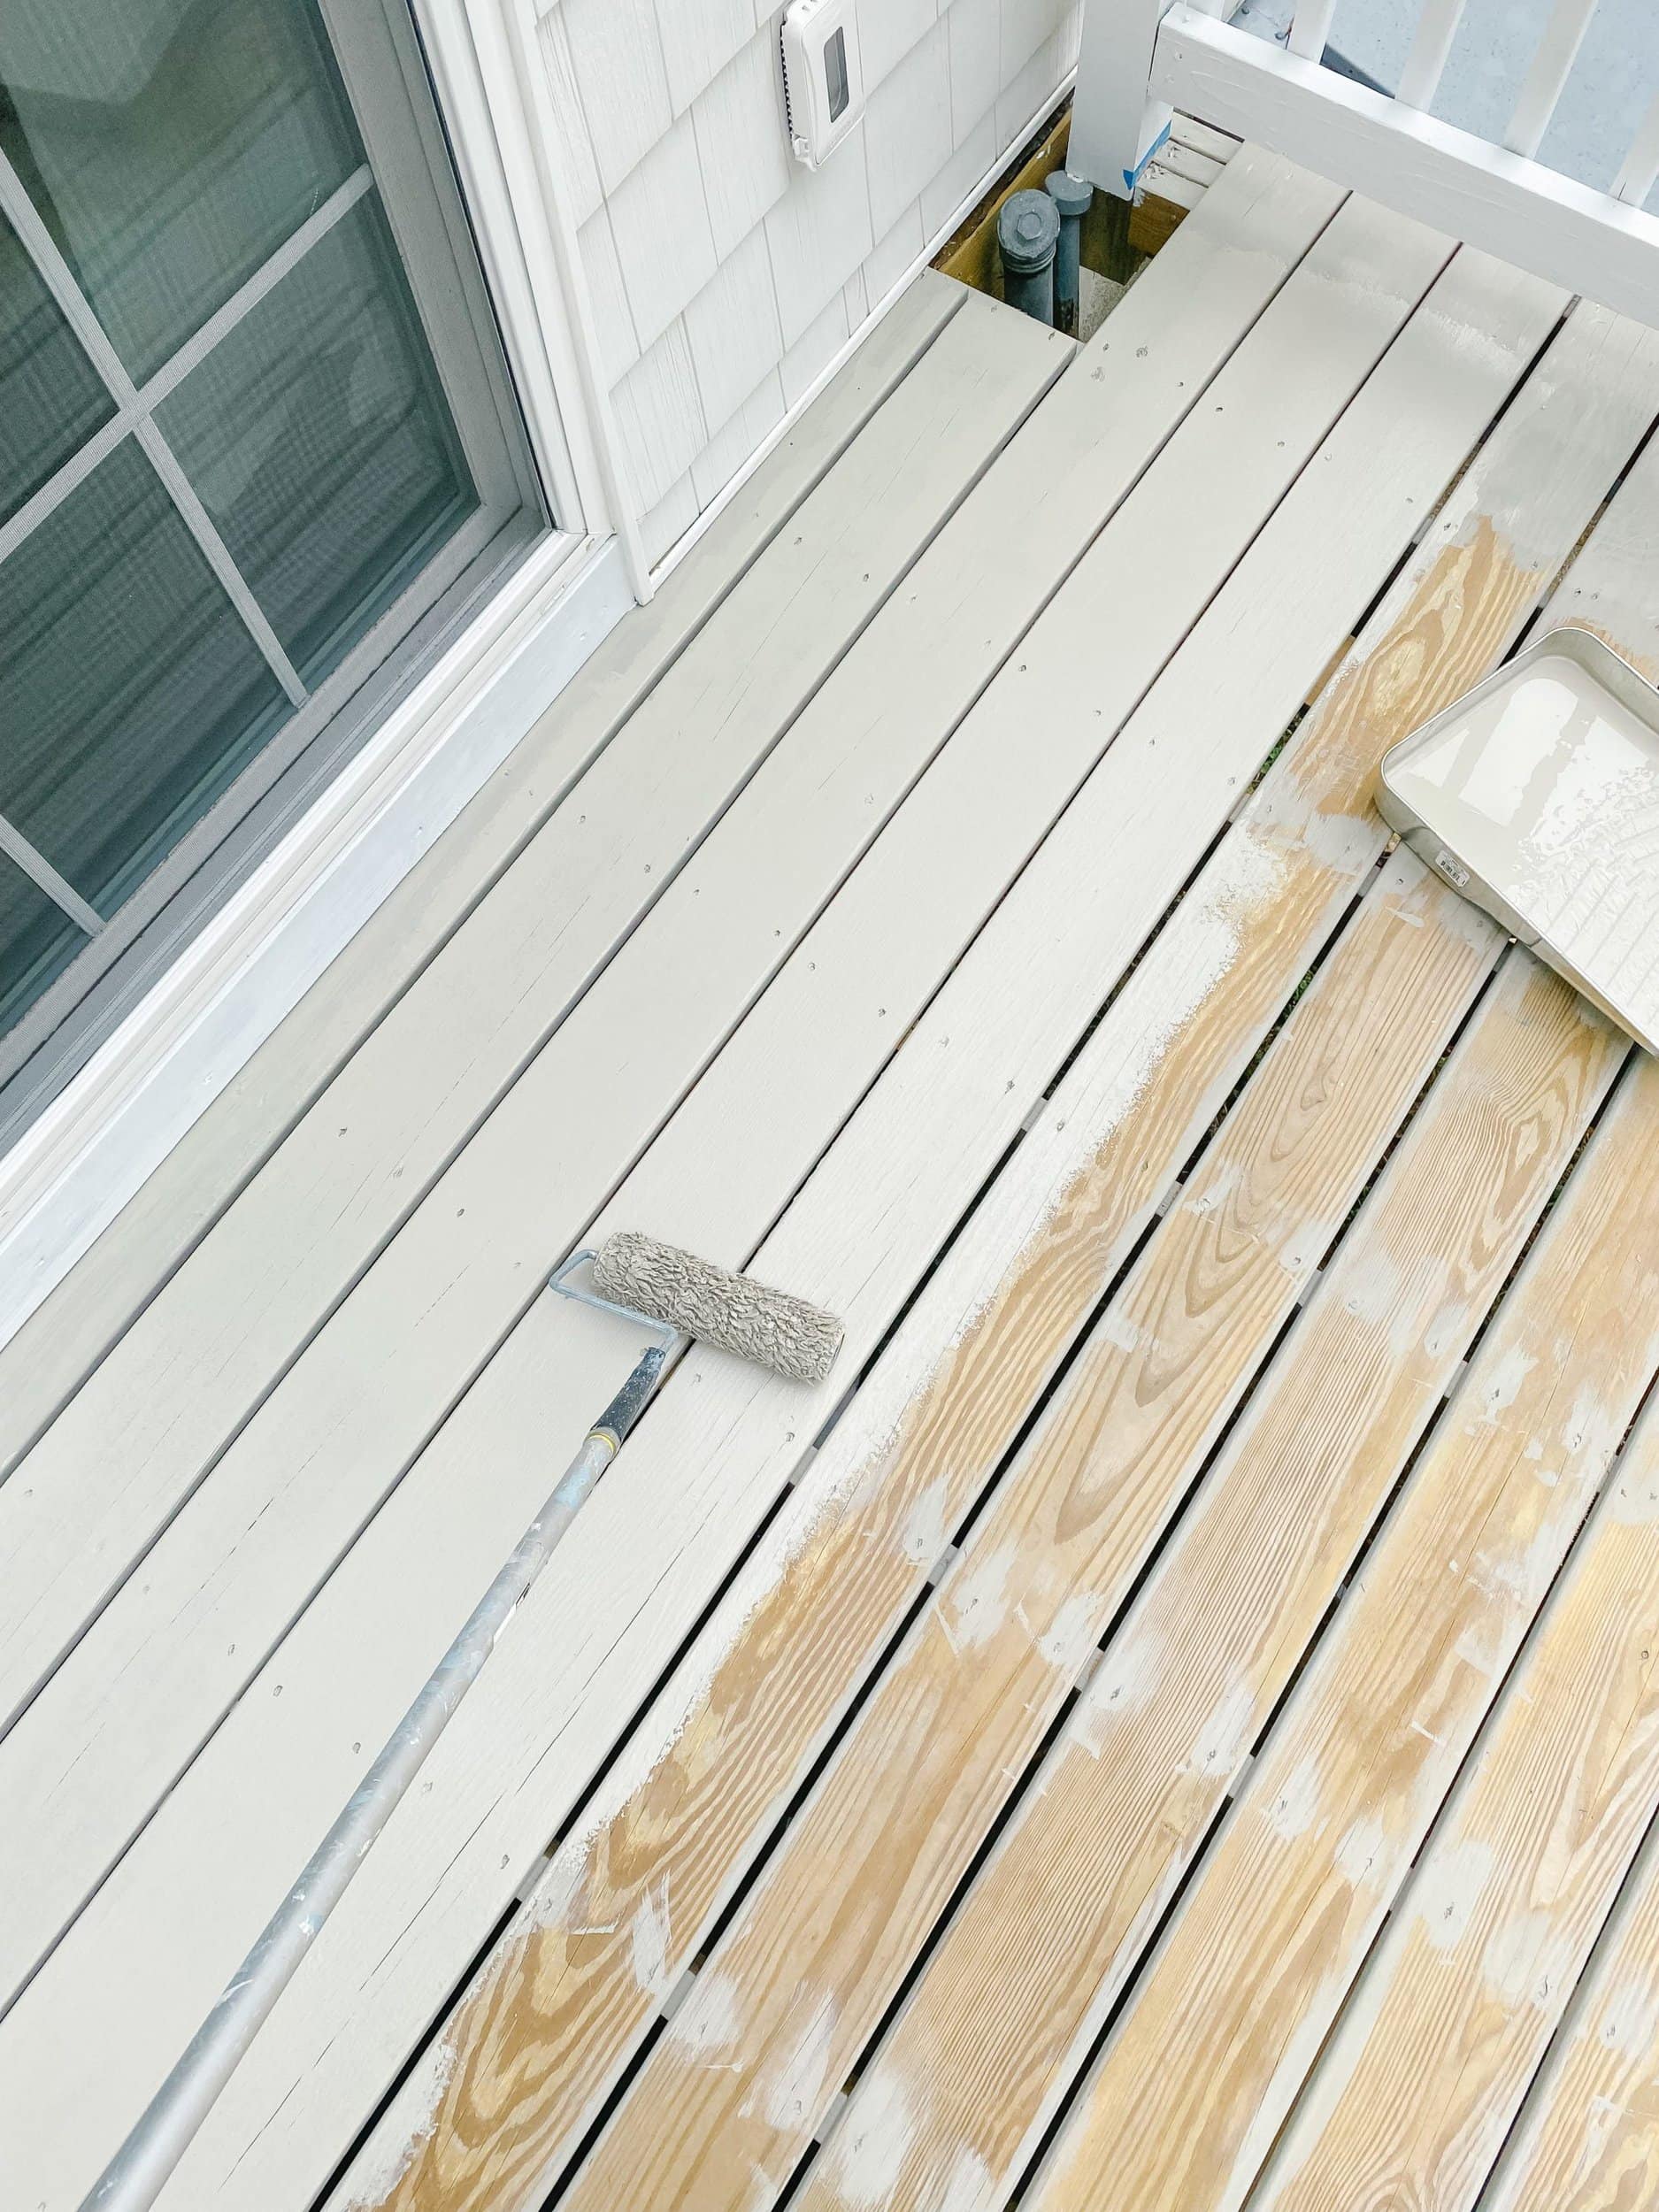
- I used a paint roller with a long handle to stain the base of the deck. I put on one layer, let it dry while I touched up other areas of the deck, then put on a second coat.
- Let the second coat dry for at least 24 hours before walking on it.
- Lastly I went in with a small craft brush and paint edger to get any nooks and crannies I couldn’t reach with the bigger brush and to do any touch ups.
How to Apply Deck Stain Between Boards
- To stain between the boards I used a large foam brush and dipped it in the stain, then ran it between each board. I stained between every board before staining the base of the deck. It is important to roll your brush over the top of the board after you go in between so none of the paint drips dry on the surface during this step. You can also use the paint edger for this step.
- Go over each nail hole with paint. This is a simple step to do with the foam brush, and you’ll be happy you did it once you see the finished product.
Deck Staining Tips:
- When staining the base of your deck make sure you start towards the house and make your way towards the stairs, you don’t want to box yourself in!
- If the white paint drips don’t worry, clean up any major spills and the color will be covered by the darker gray.
- For small spaces you can’t reach with your regular paintbrush use a small craft brush.
- Use paint tape for clean lines!
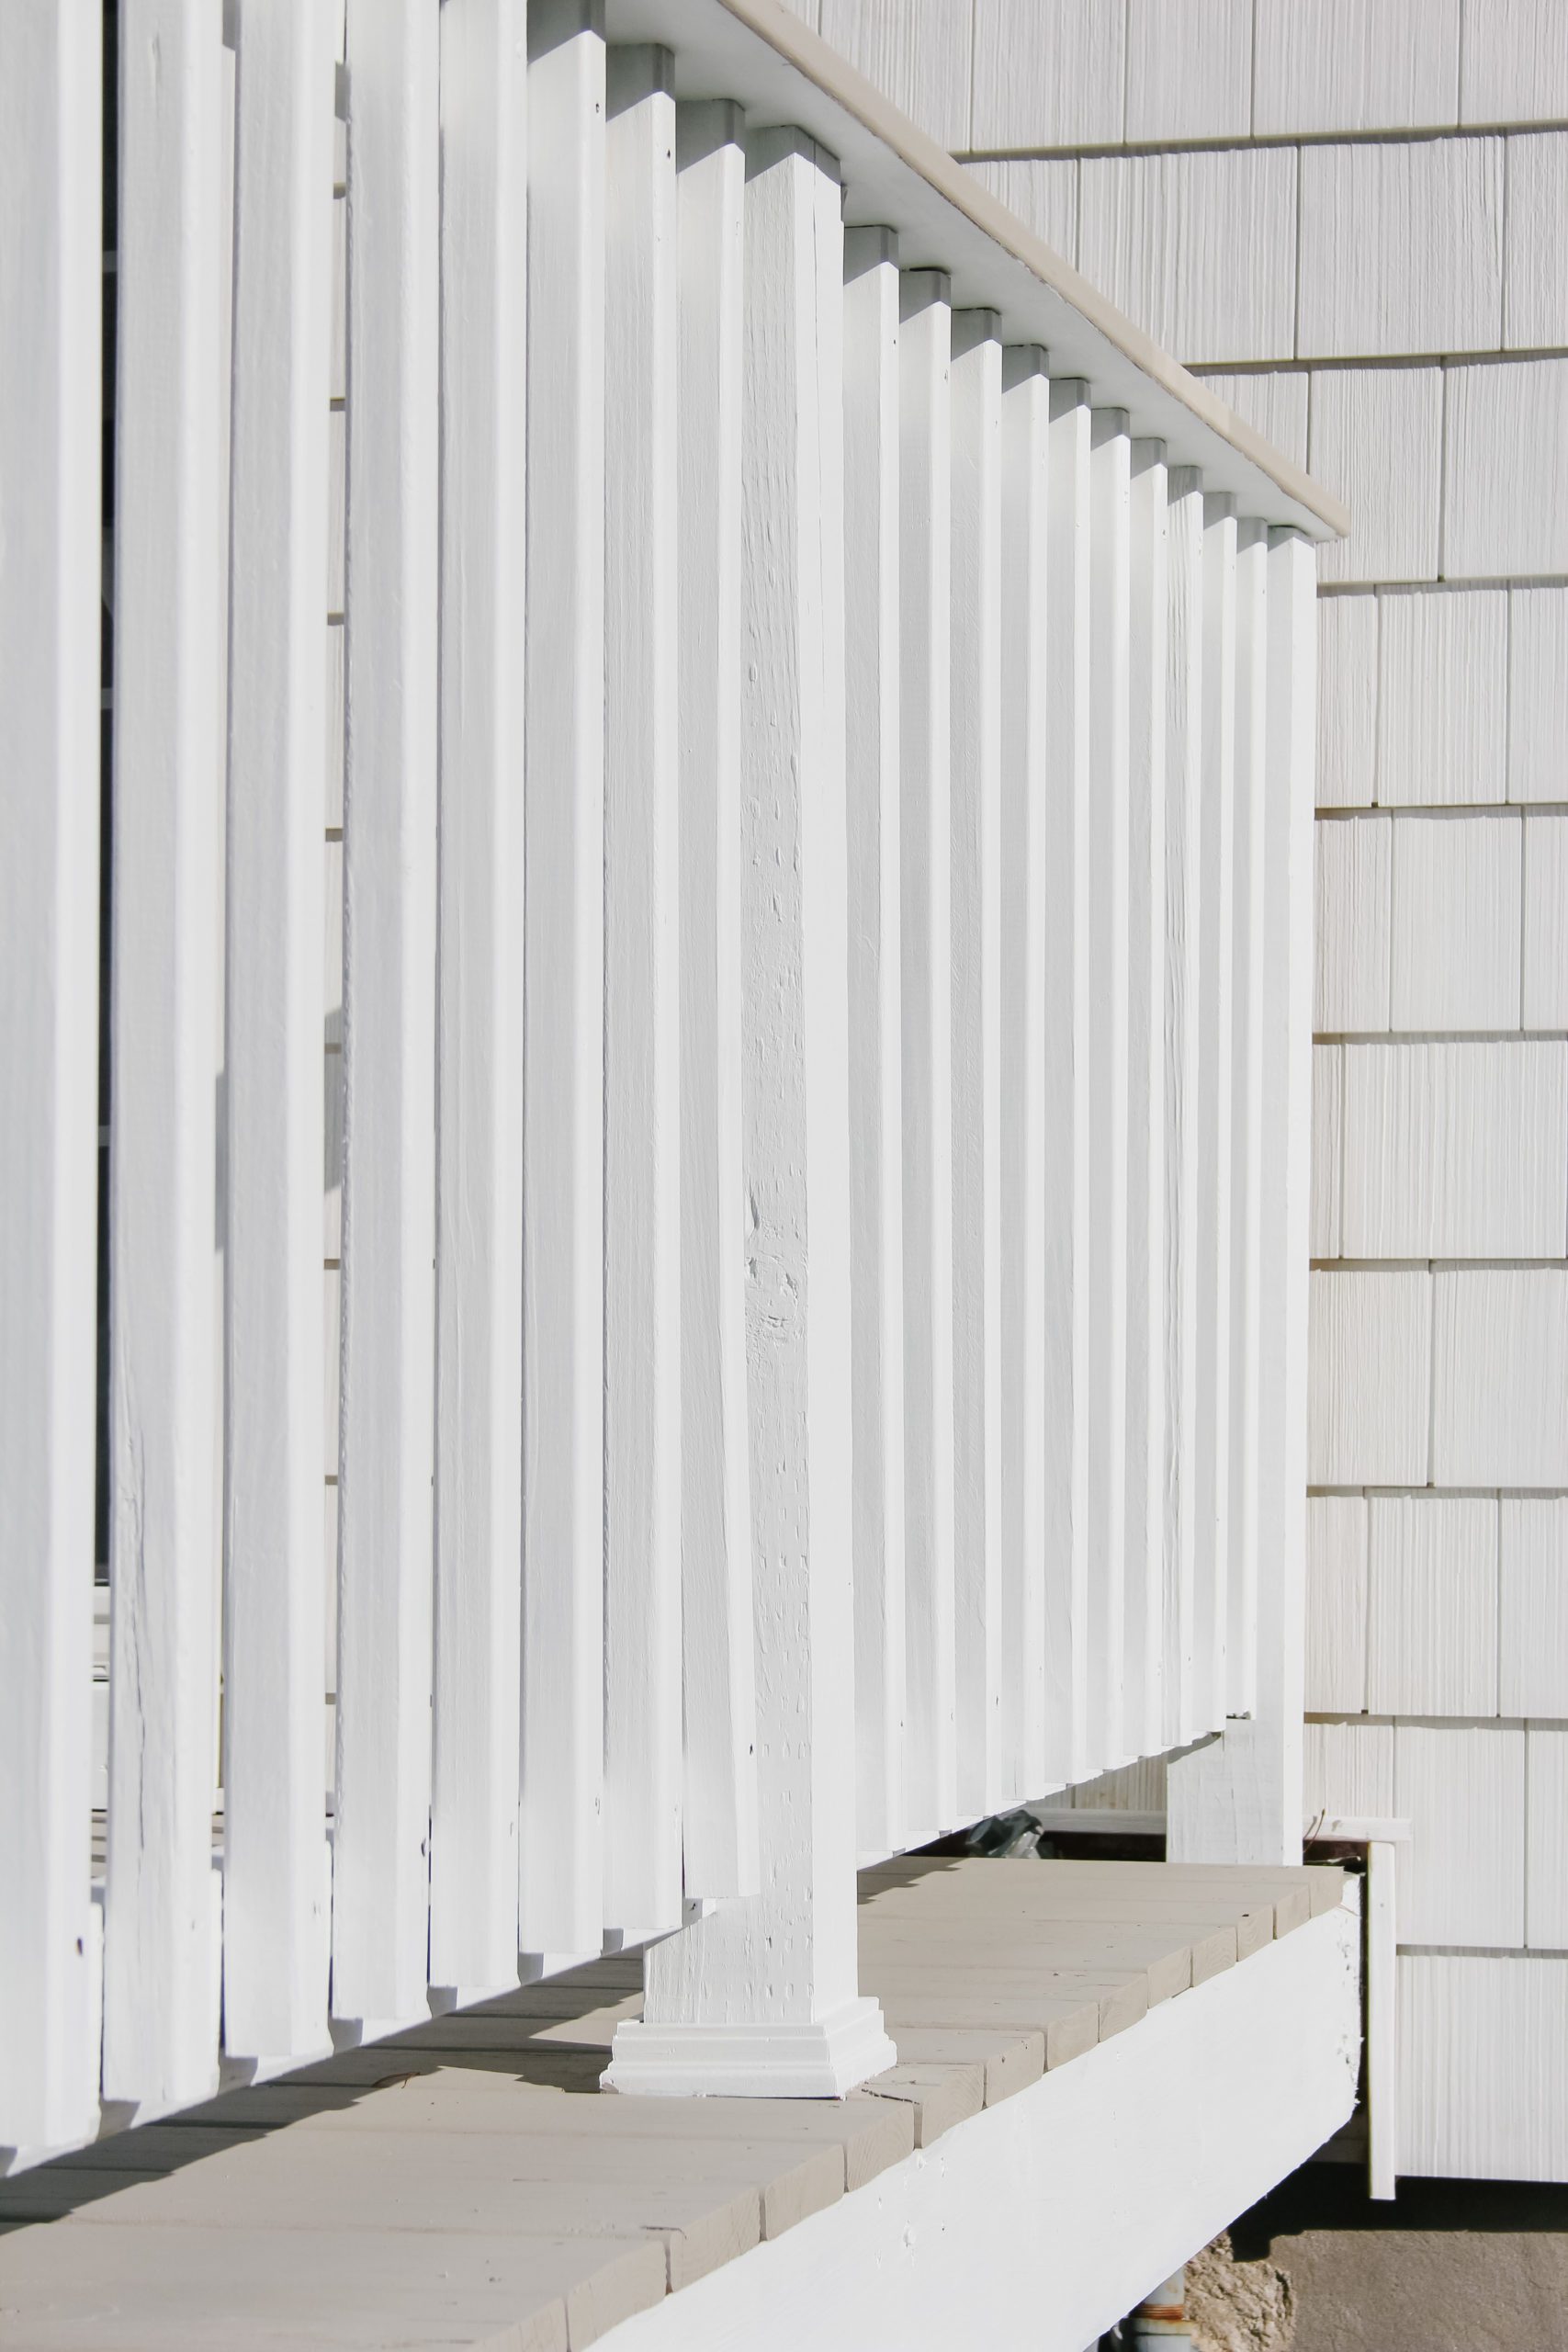
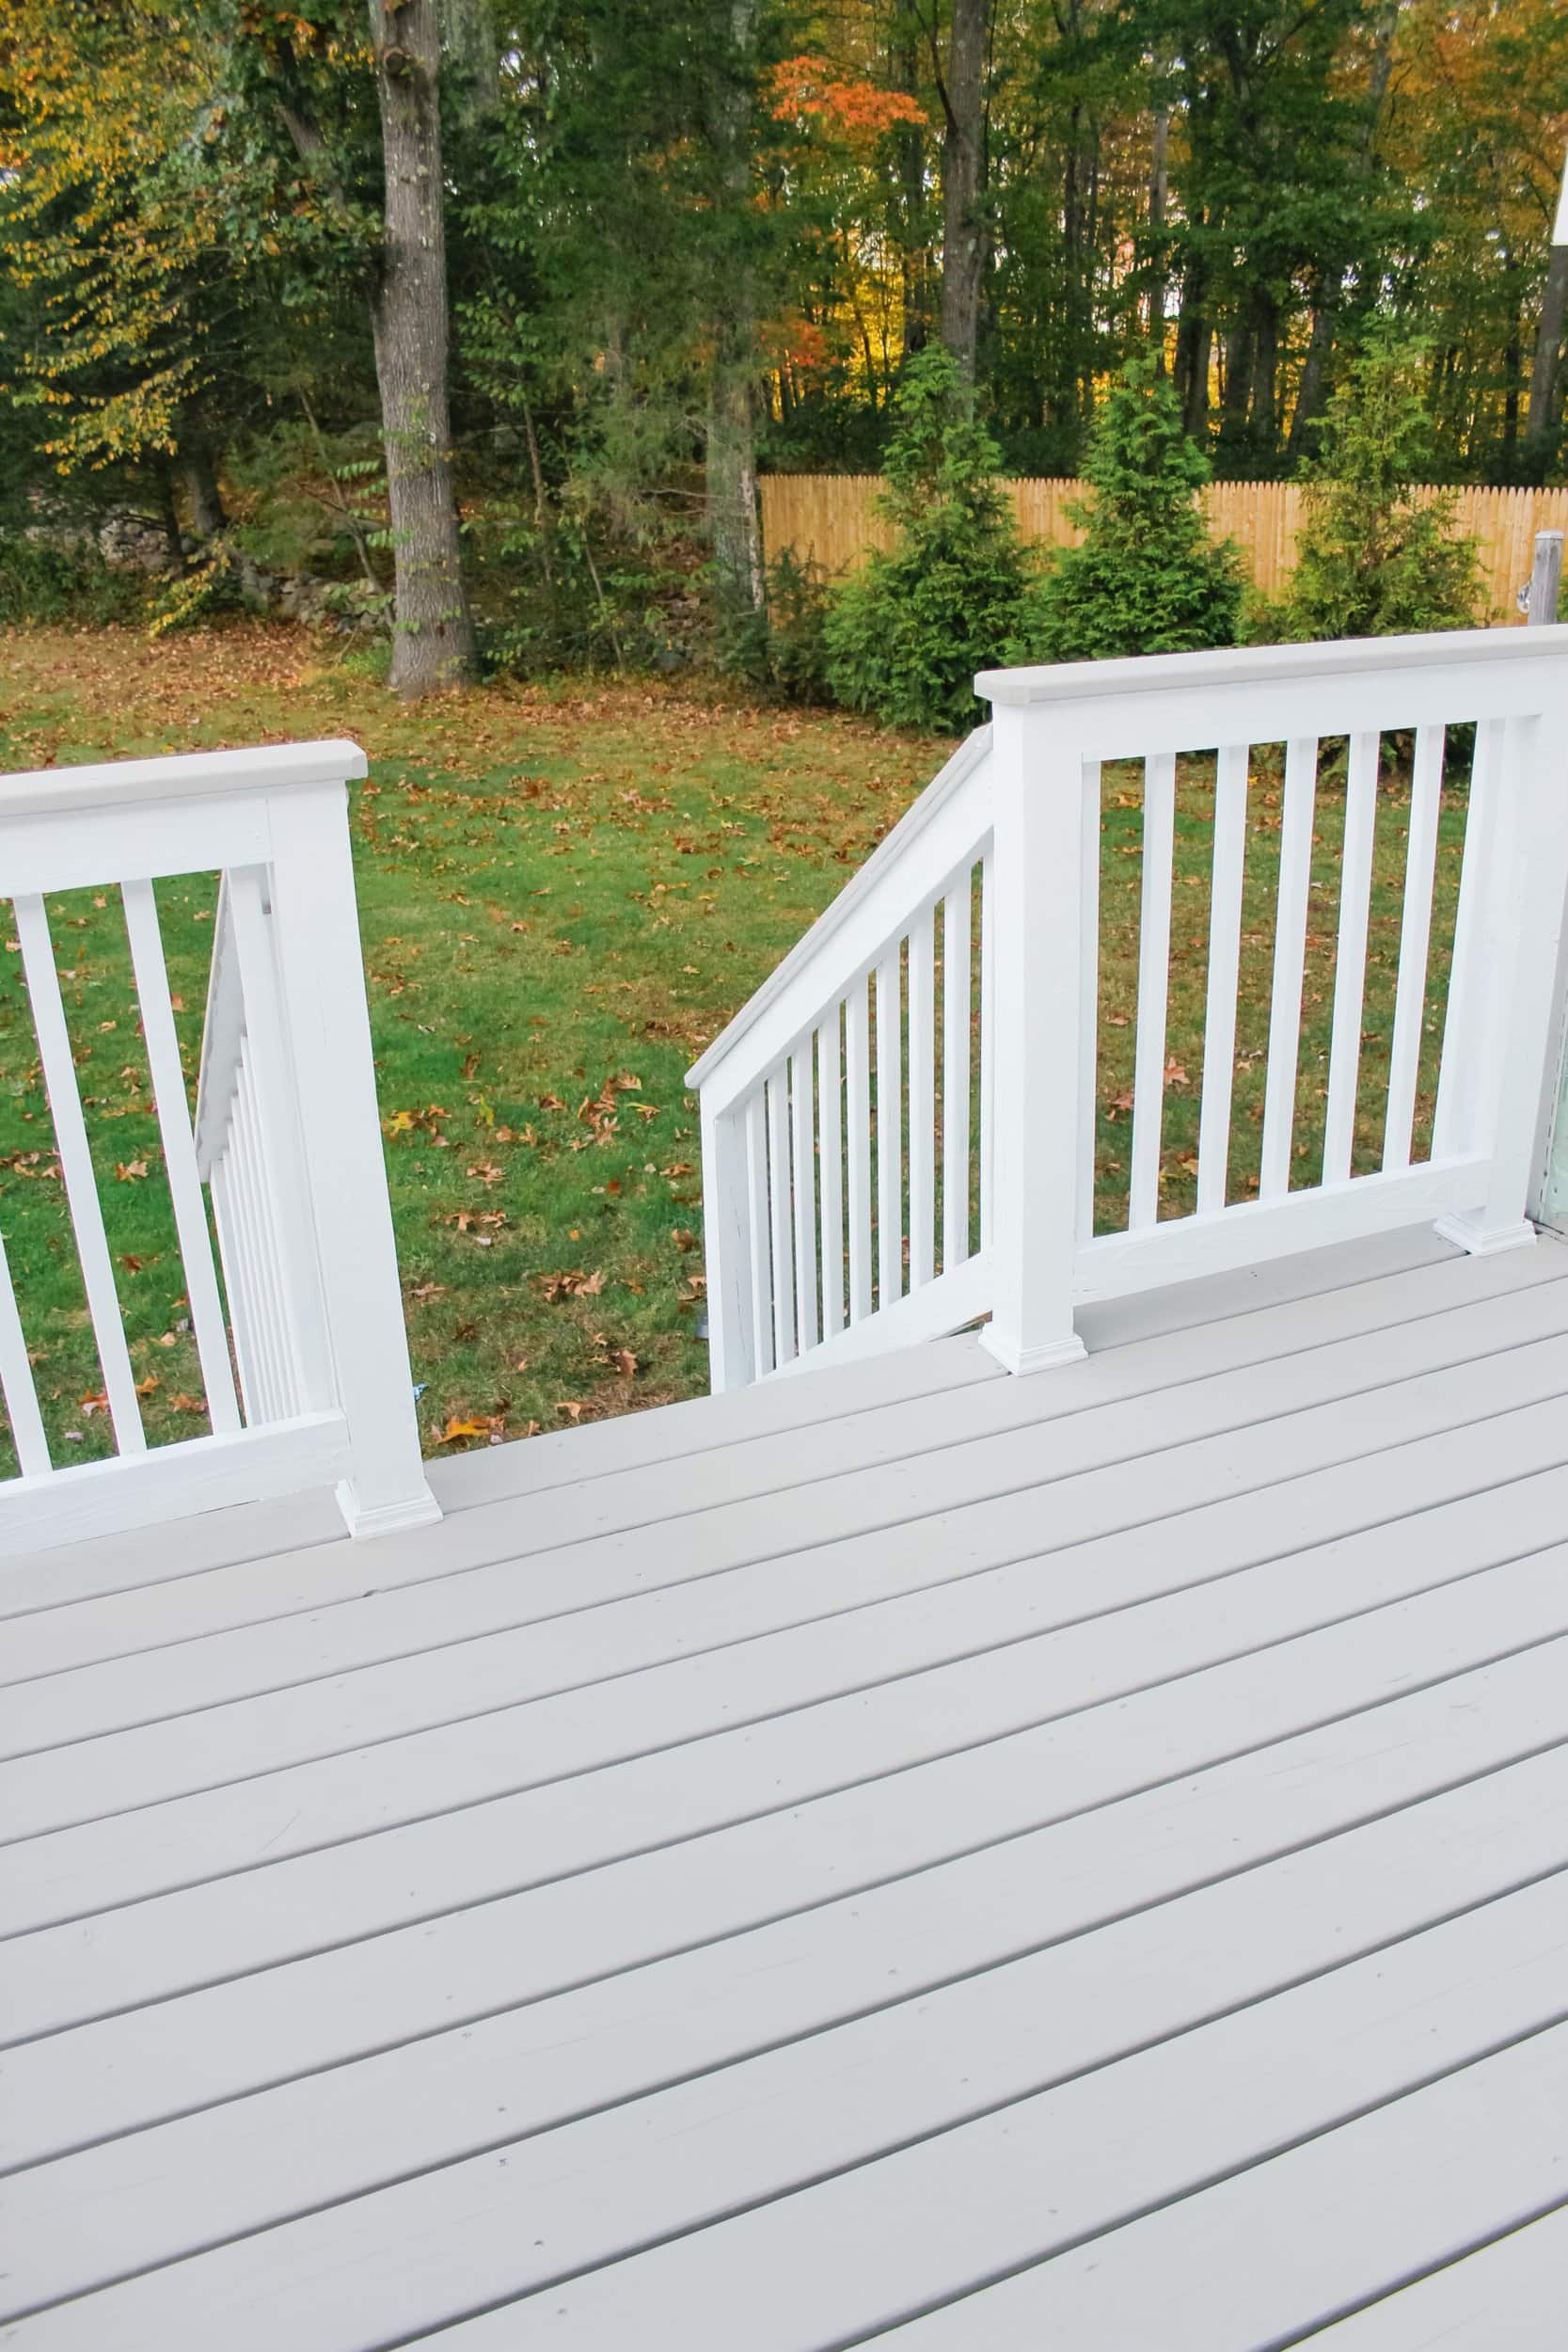
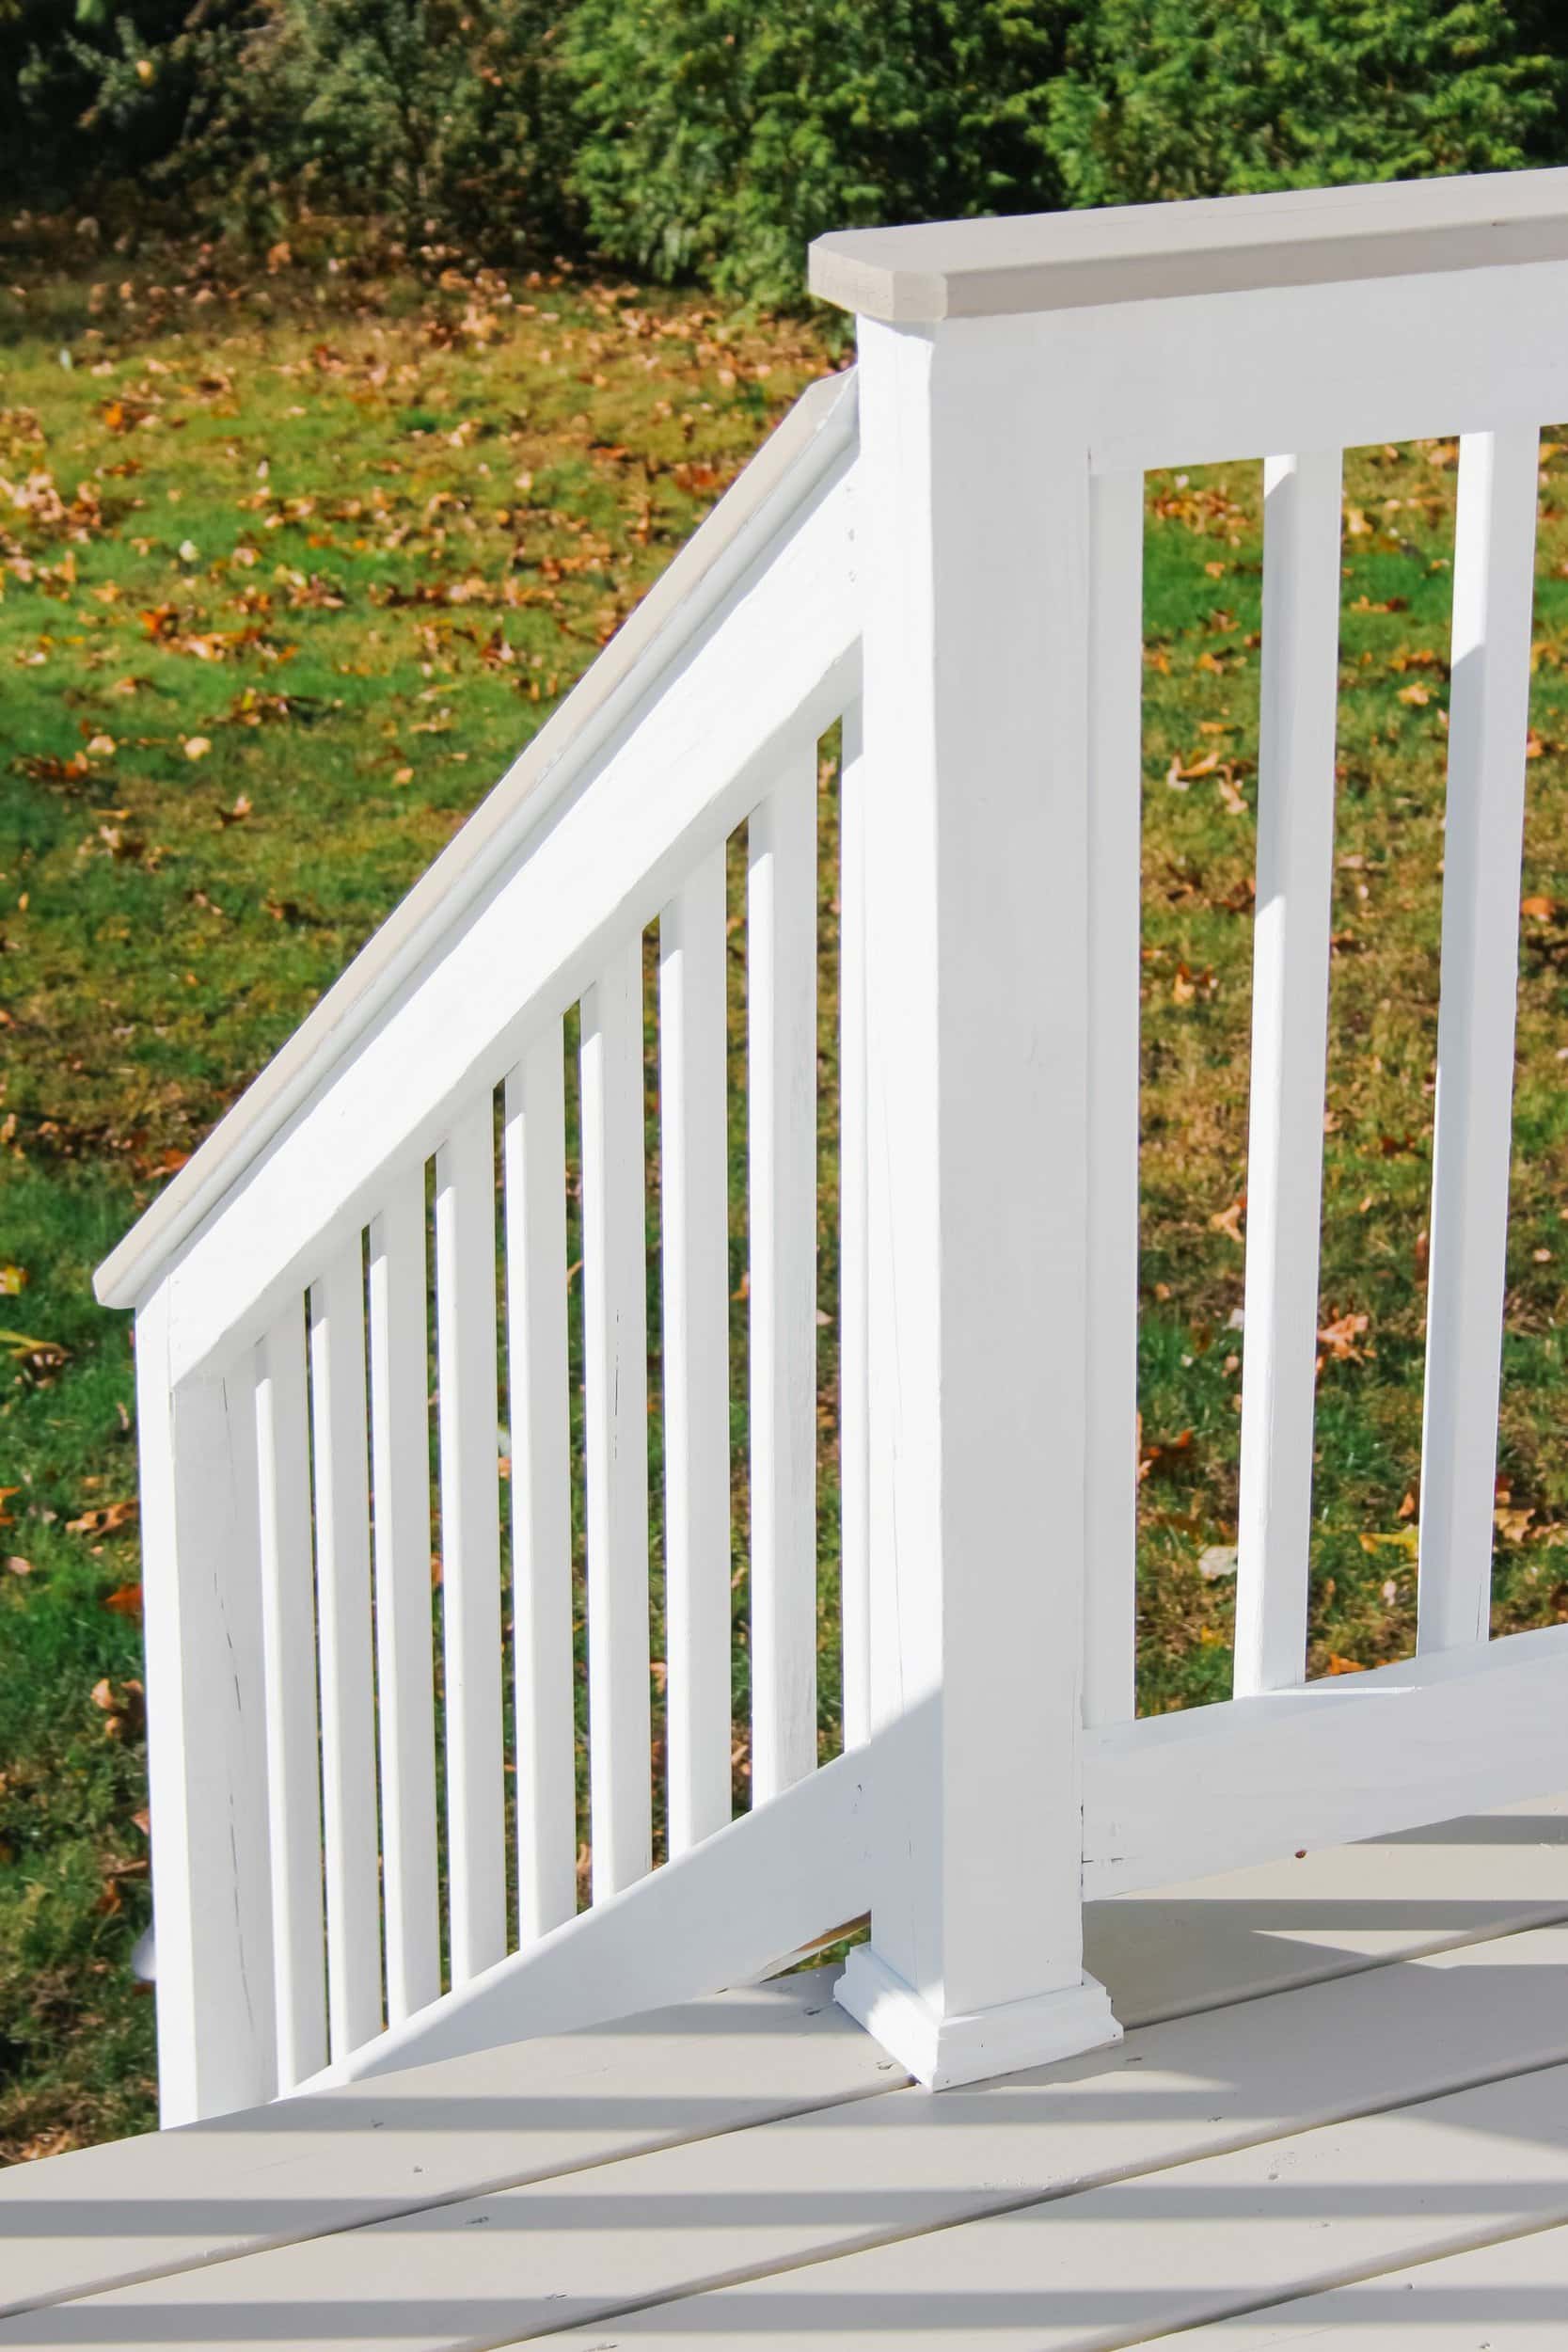
The Finished Product
This project was one of my first major DIY’s and I am really impressed with how it turned out! The light deck color might not be for everyone but I love the way it came out, and I am still in awe of the view of my deck from my dining room!
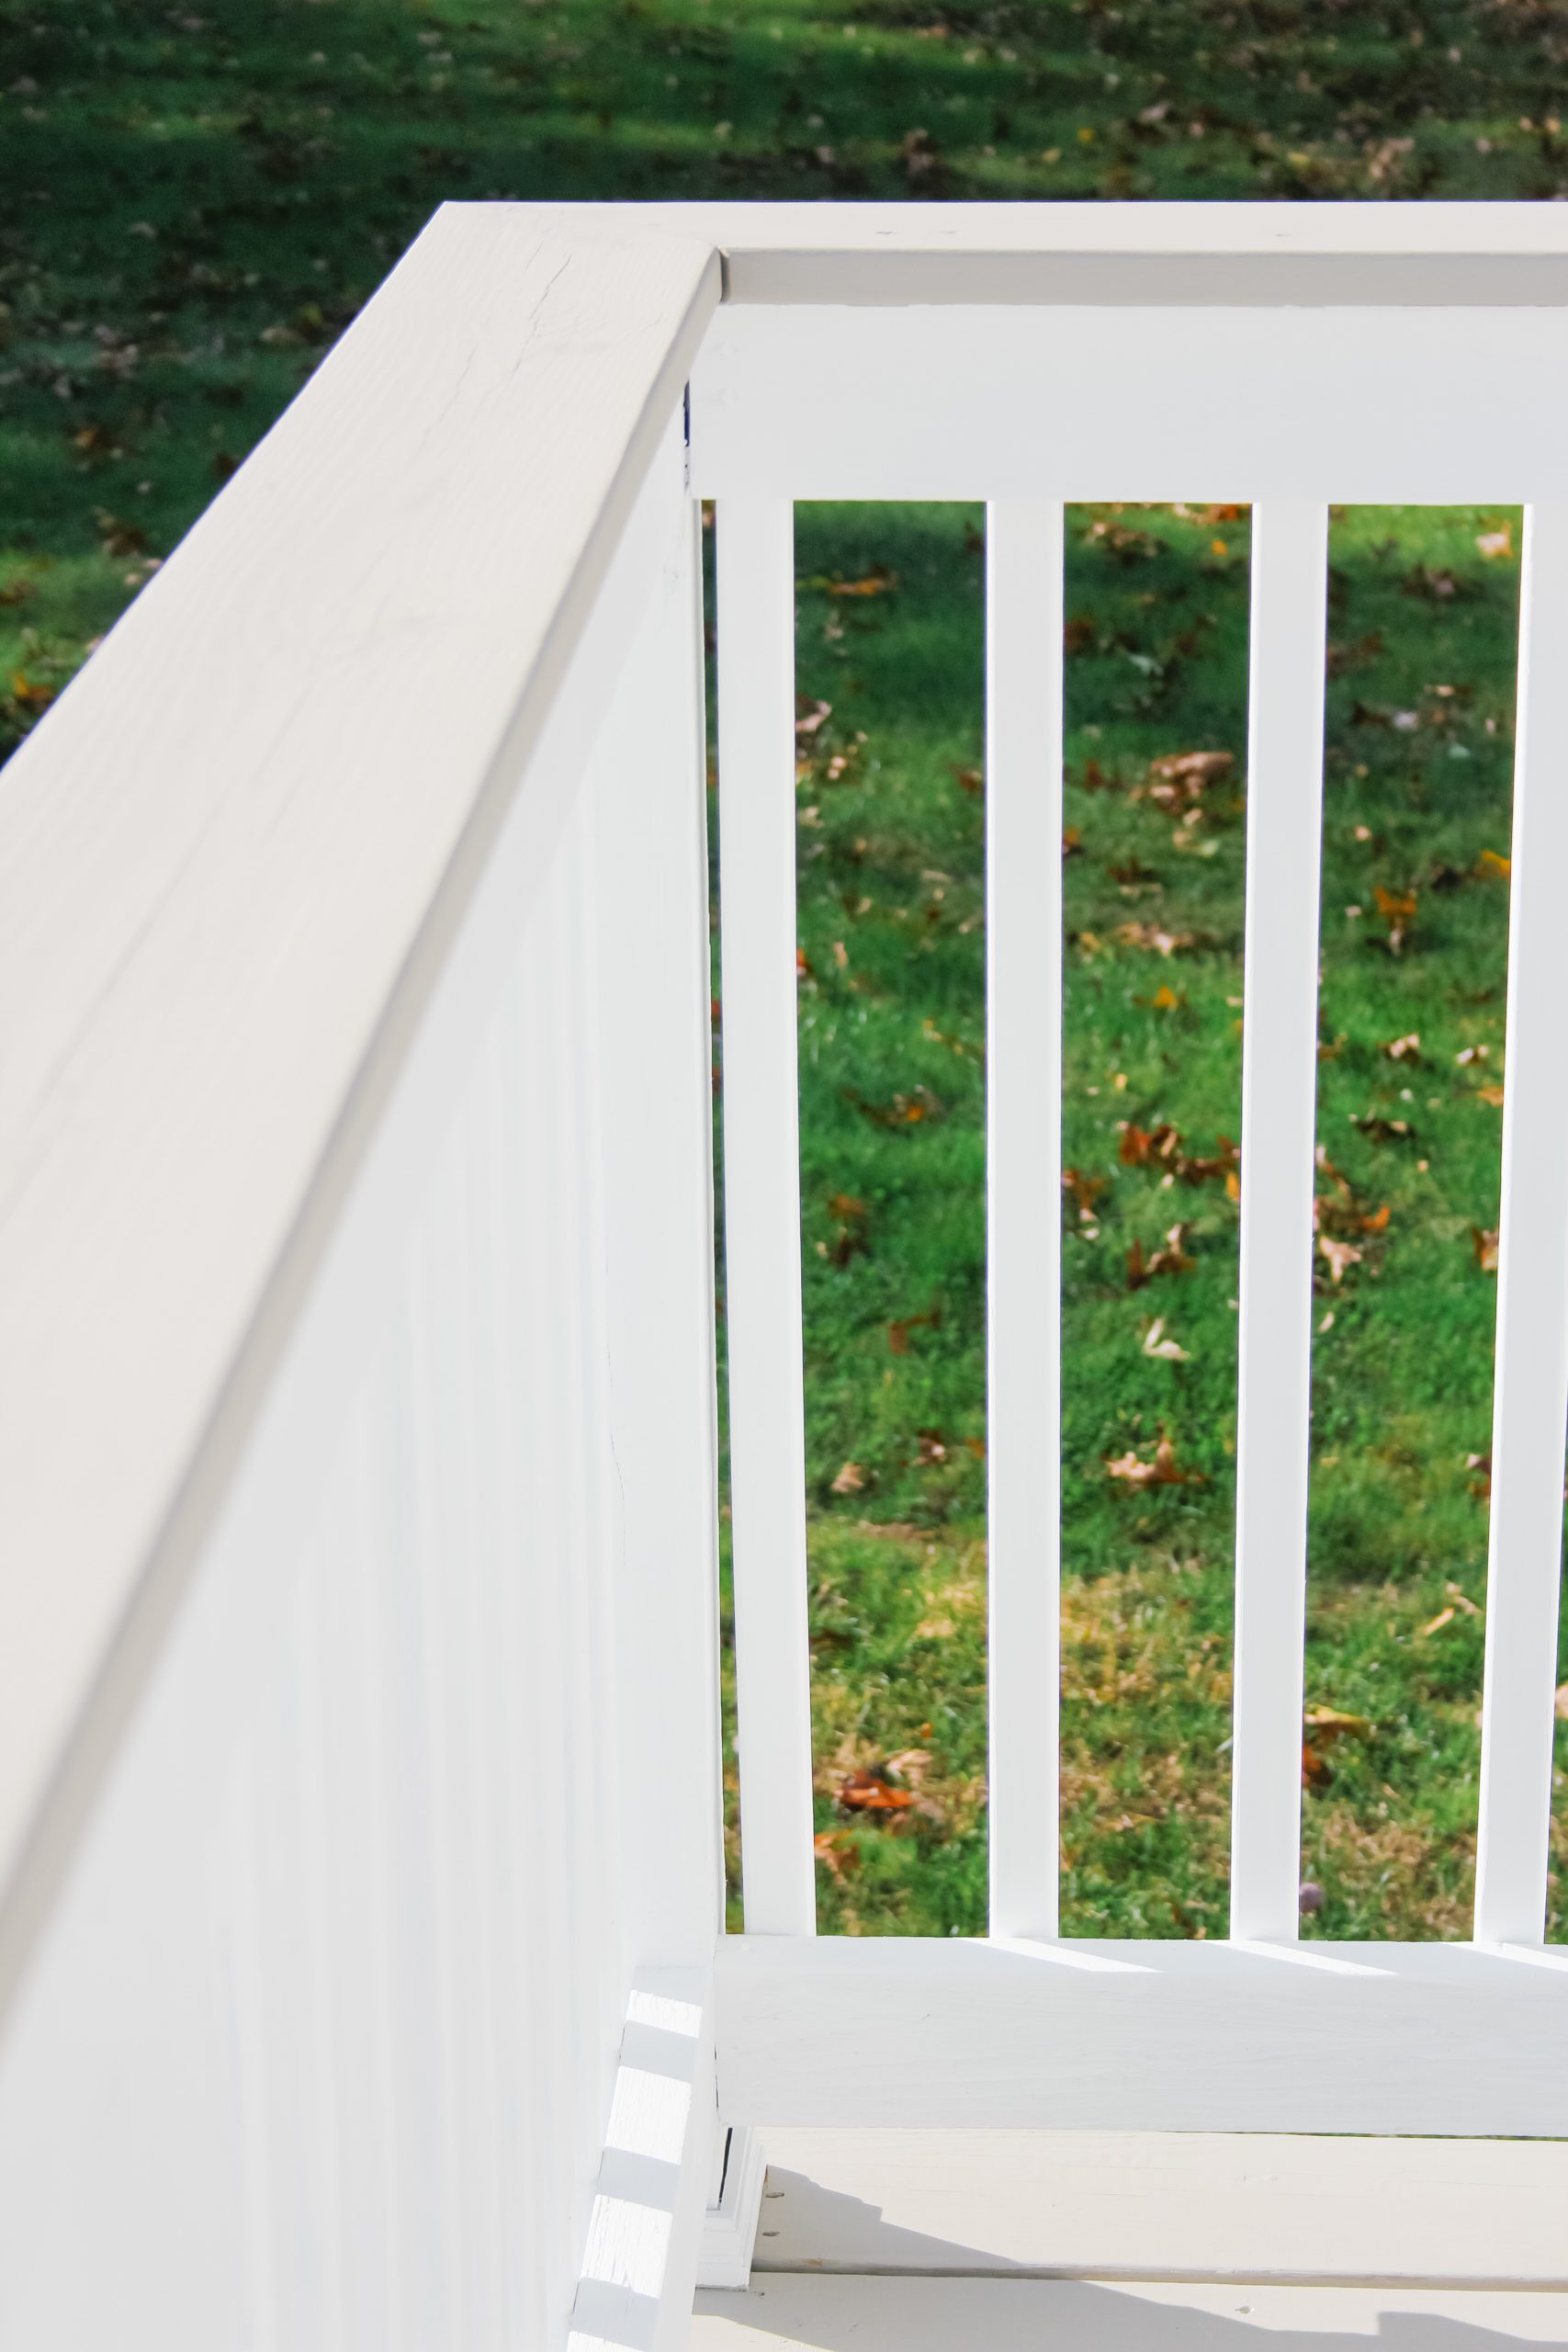
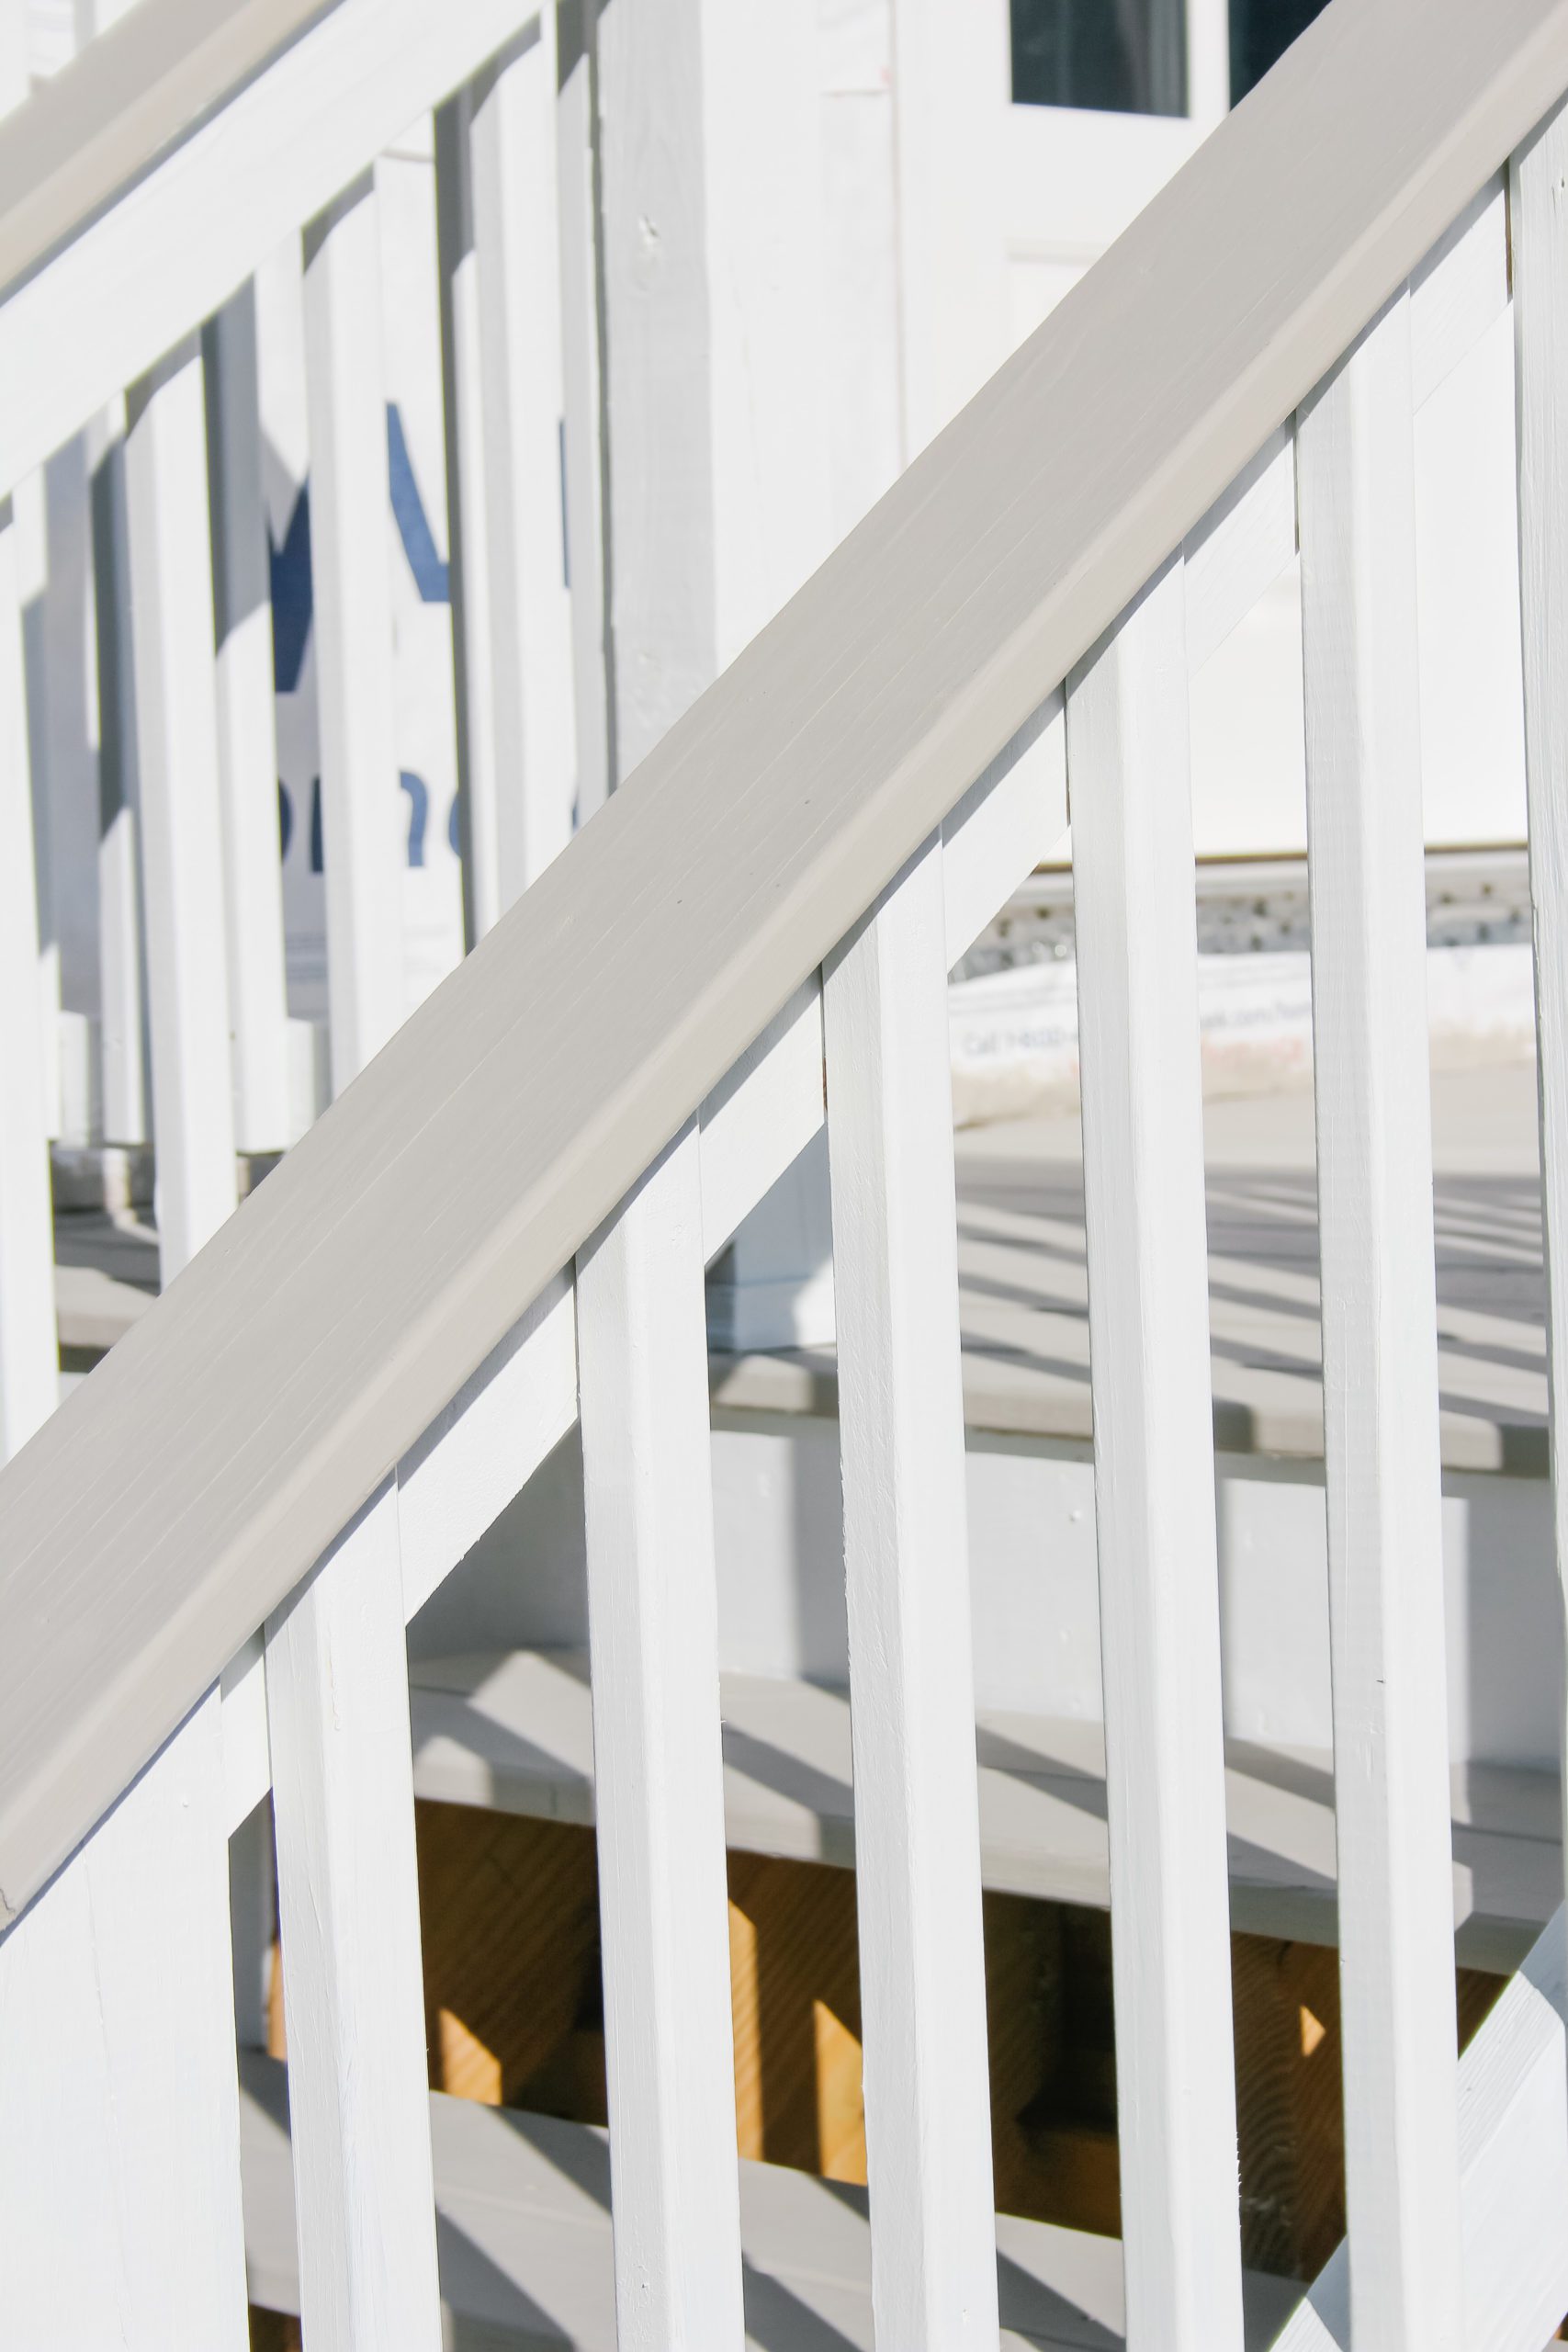
The contrast of the white and gray work perfectly together. If you don’t want as much contrast you can paint your top rail white and only have the gray as your base, or you can go with an entirely different color. With a little elbow grease and determination I was able to stain my deck myself and save tons of money with this DIY!
Frequently Asked Questions
Can you stain your deck in hot weather?
The short answer is yes, you can stain your deck in hot weather. But do you really want to? The heat will not stop the deck from curing and will actually speed along the process, just be sure you wear sunscreen or a hat!
Can you stain your deck in sections?
Theoretically yes, if you are using the same can of paint and are mixing it thoroughly each time you use it. I recommend doing the whole project in one go but if you have to split it up I would do the railings in one day, and the base another day. If you have to split the base into two sections make sure you go board by board so each board is entirely covered with stain before stopping.
Can you stain your deck at night?
I don’t recommend it because morning dew will wet your deck which might still be tacky. Ideally you want to finish staining your deck by about 4 PM to give it enough time to cure.
Do you really need to stain your deck?
My answer to this is yes. Once the deck is stained water beads up on the surface. The deck stain protects the wood and increases the longevity of your deck. You don’t want to spend all time, energy, not to mention money on a deck for it to be rotted in 5 years. Protecting the deck with stain will ensure your deck will live a long life!
How To Stain A New Deck Yourself – DIY
Equipment
- Paintbrush Roller with Long Handle
- Large Paint Tray
- Angled Paint Brush
- Small Paint Tray
- Small Craft Brush
- Wood Putty
- Putty Knife
- Paint Edger
- Large Foam Brush
Instructions
Deck Prep
- Prepare the deck for stain. Fill any wood holes with wood putty and use the knife to smooth out. Once dry use high grit sandpaper to smooth surface.
- Use deck cleaner to clean the surface of the deck and a wire brush to scrub the cleaner into the wood. Rinse and let dry a full 48 hours before staining.
Deck Staining
- Tape off all feet of the posts and top rail with painters tape.
- Apply white paint to all spindles, posts, and stair backs using the small paint tray and angled brush and edger.
- Once first coat is dry paint a second coat if needed.
- Stain between the base deck boards using the large foam brush. Roll the brush over all nail heads to cover them and roll the brush over the top of the wood to make sure no drips dry on the surface.
- Use the angled paintbrush to cut in the gray color along the sides of the house and places that can't be reached with the roller.
- Use paint roller with long handle to stain the base of the deck. Put on one full layer, let dry, then put on second layer.
- Let deck dry for at least 24 hours before walking on it.
- Use a small craft brush and paint edger for any hard to get spots and touch ups and you're done!
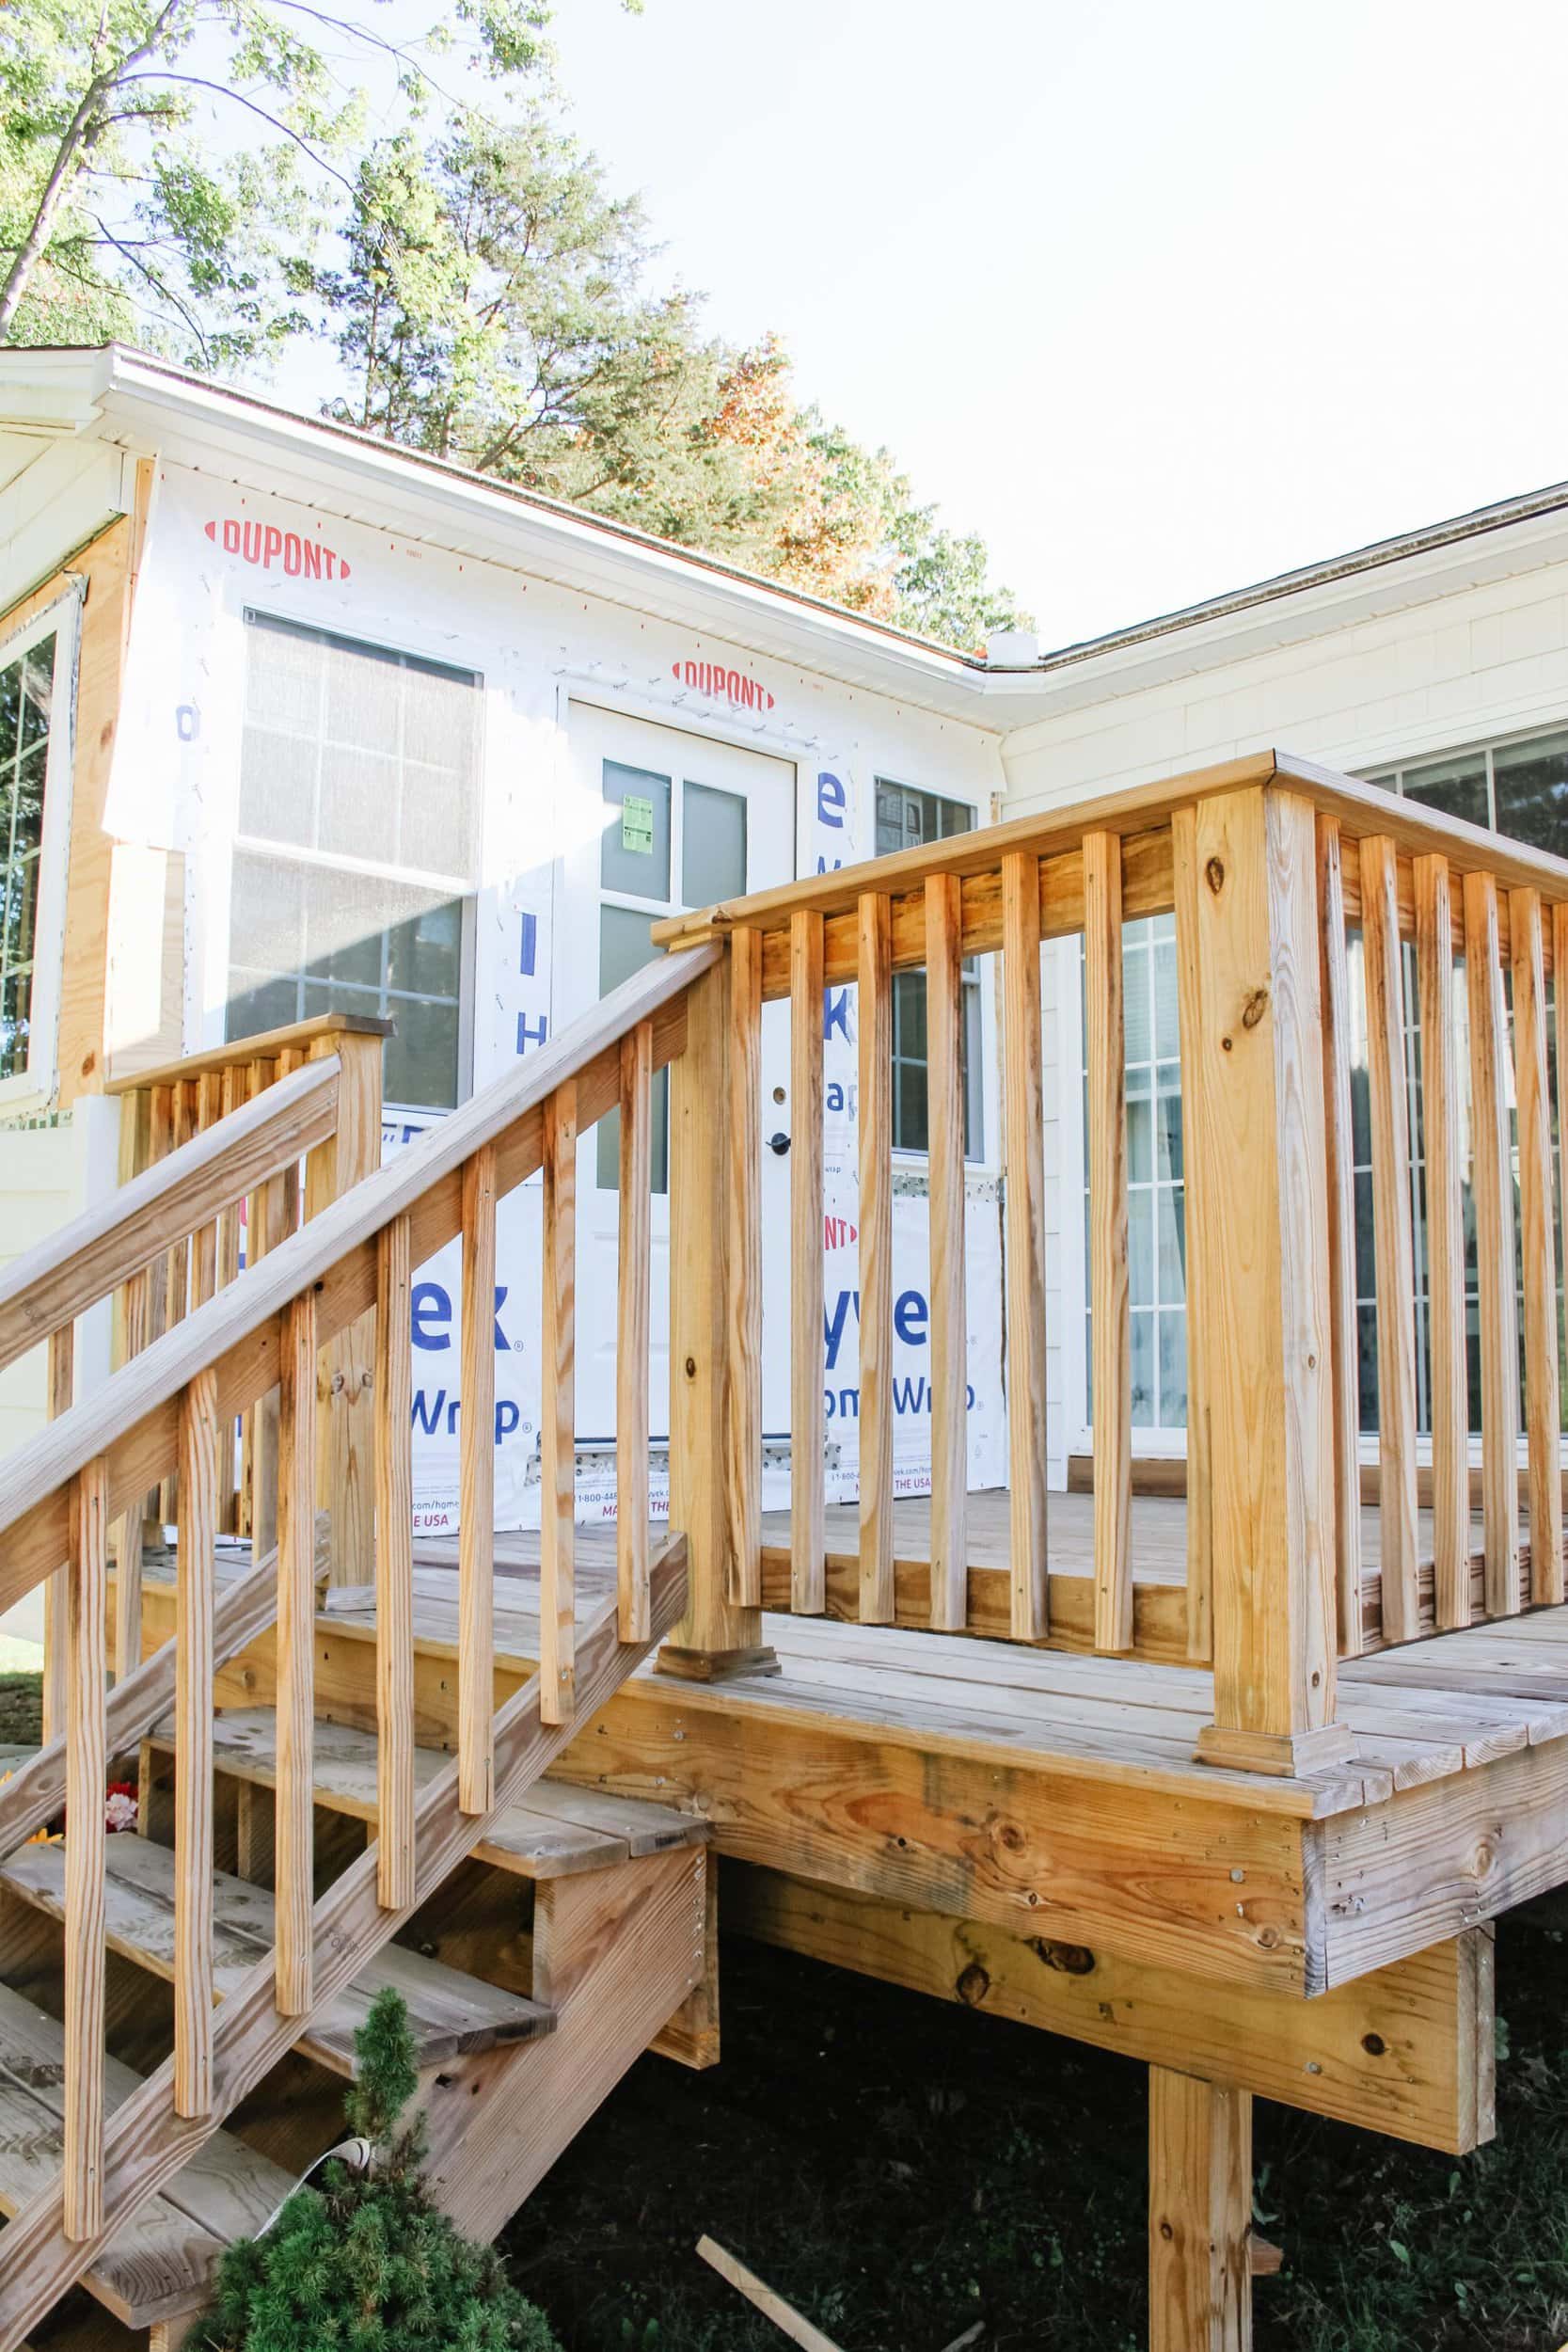
What’s Next?
My next deck project will be adding wood backing to the stair treads and closing off under the deck with some type of lattice so animals don’t make a home there. These projects will come after the laundry room addition is complete, as you can see from these pictures it is well underway!
Shop This Post:
- Sherwin Williams SuperDeck Wash
- SuperDeck Exterior Waterborne Semi-Solid Color Stain
- Bristle Brush
- Paint Roller with Long Handle
- Large paint Tray
- Small Paint Tray
- Angled Paintbrush
- Wood Putty
- Putty Knife
- Foam Brush
- Paint Edger
- Painters Tape